Setting up your Turneo Elements
You only need to add two lines of HTML code to your website once to showcase a selection of experiences, which you can then re-order, add to, or remove from directly in Turneo — without touching your website's code again.
If you want to add specific experiences — or groups of experiences — to particular places on your website, use Turneo Elements.
🧑💻 Create a new Element
- Log in to your Turneo platform at app.turneo.co
- In the left-hand navigation, click Elements
- Click New Element ➕ in the top-right corner
- Give your Element a name (e.g. "Wellness Experiences" or "Watersports") and select which Store you'll be choosing experiences from
- Choose whether to start blank or copy an existing Element to reuse its styling
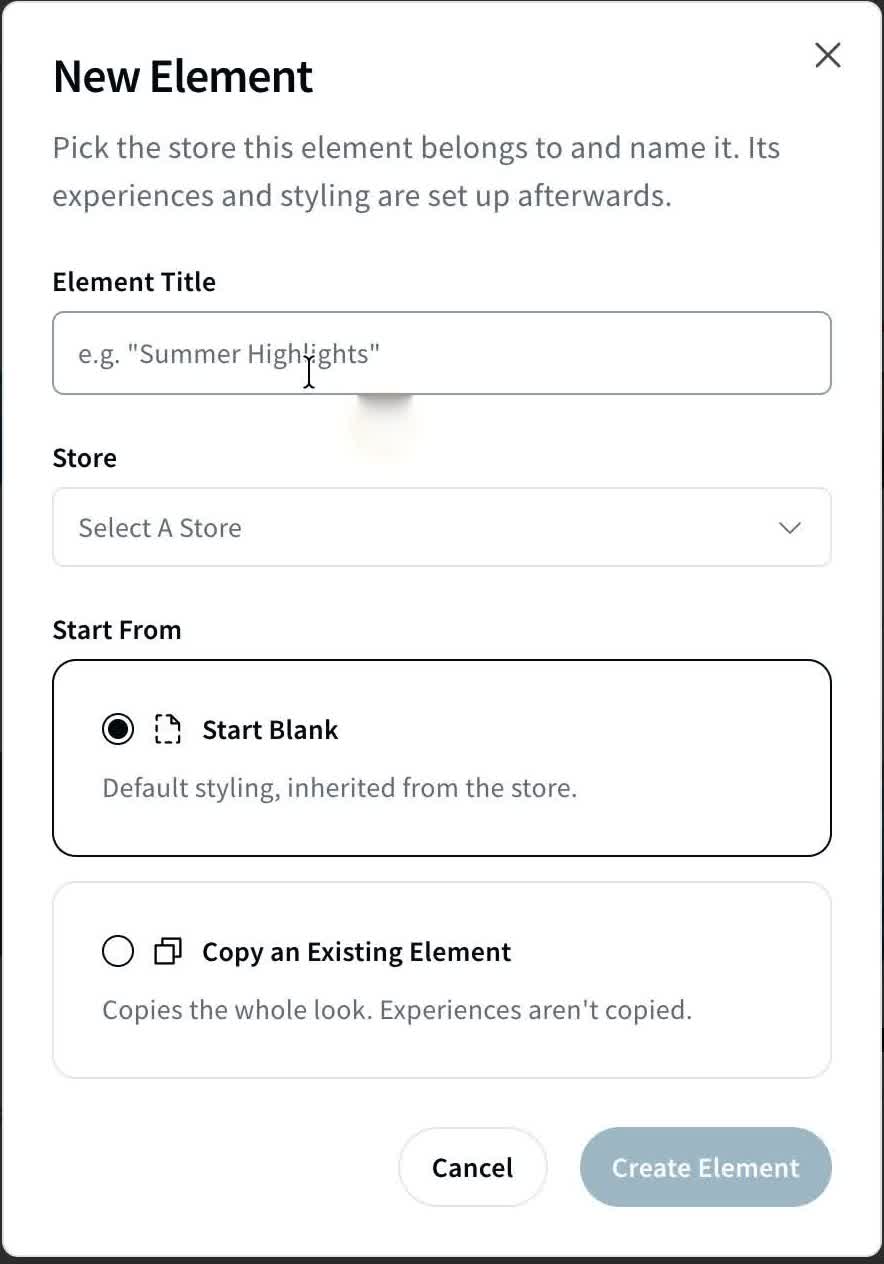
The New Element dialog — name it, pick a Store, and start blank or copy an existing Element.
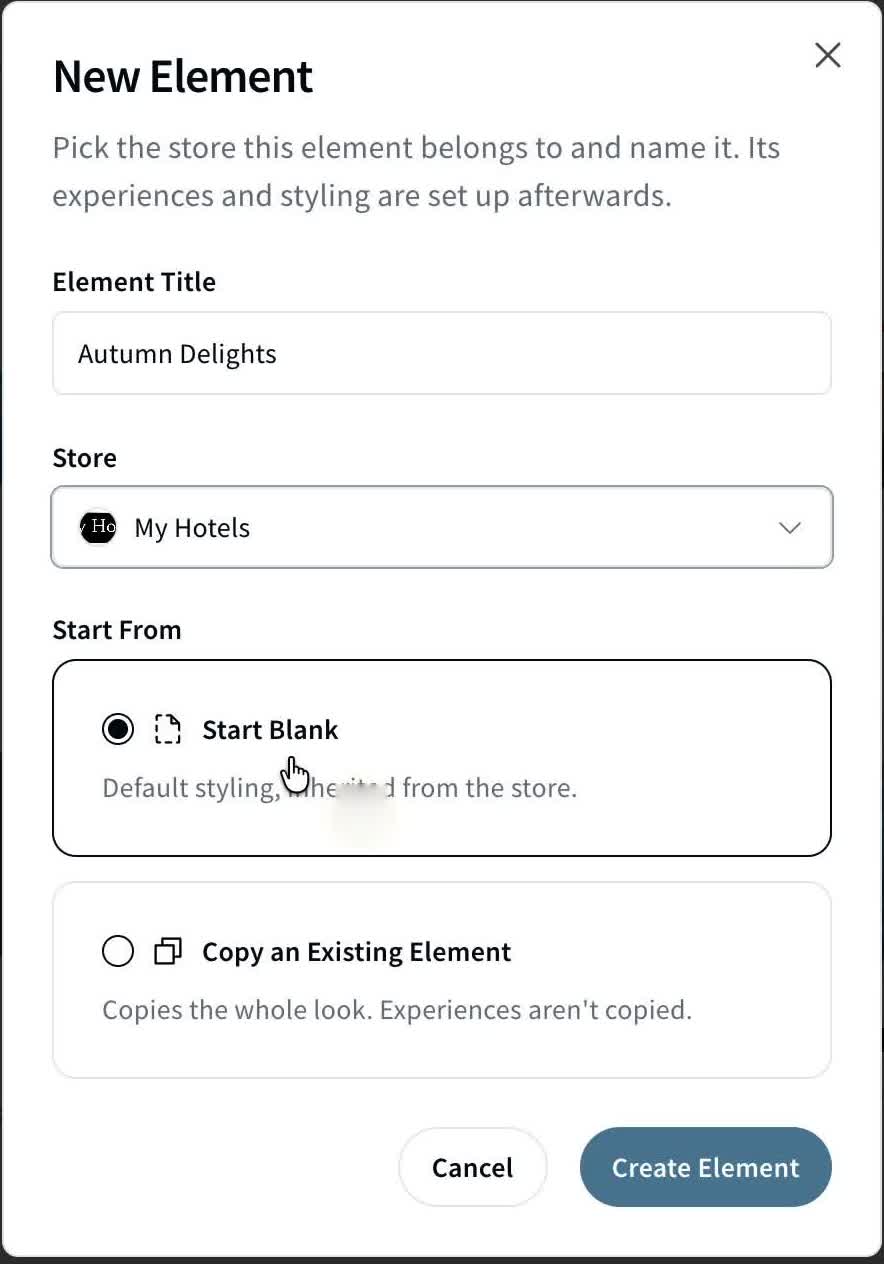
The dialog filled in — Element named, Store selected.
- Under Catalogue, click Add to Catalogue ➕ to add experiences:
- Experiences already in the Store's catalogue, in-house experiences, and external experiences you haven't added yet are all searchable by name or partner
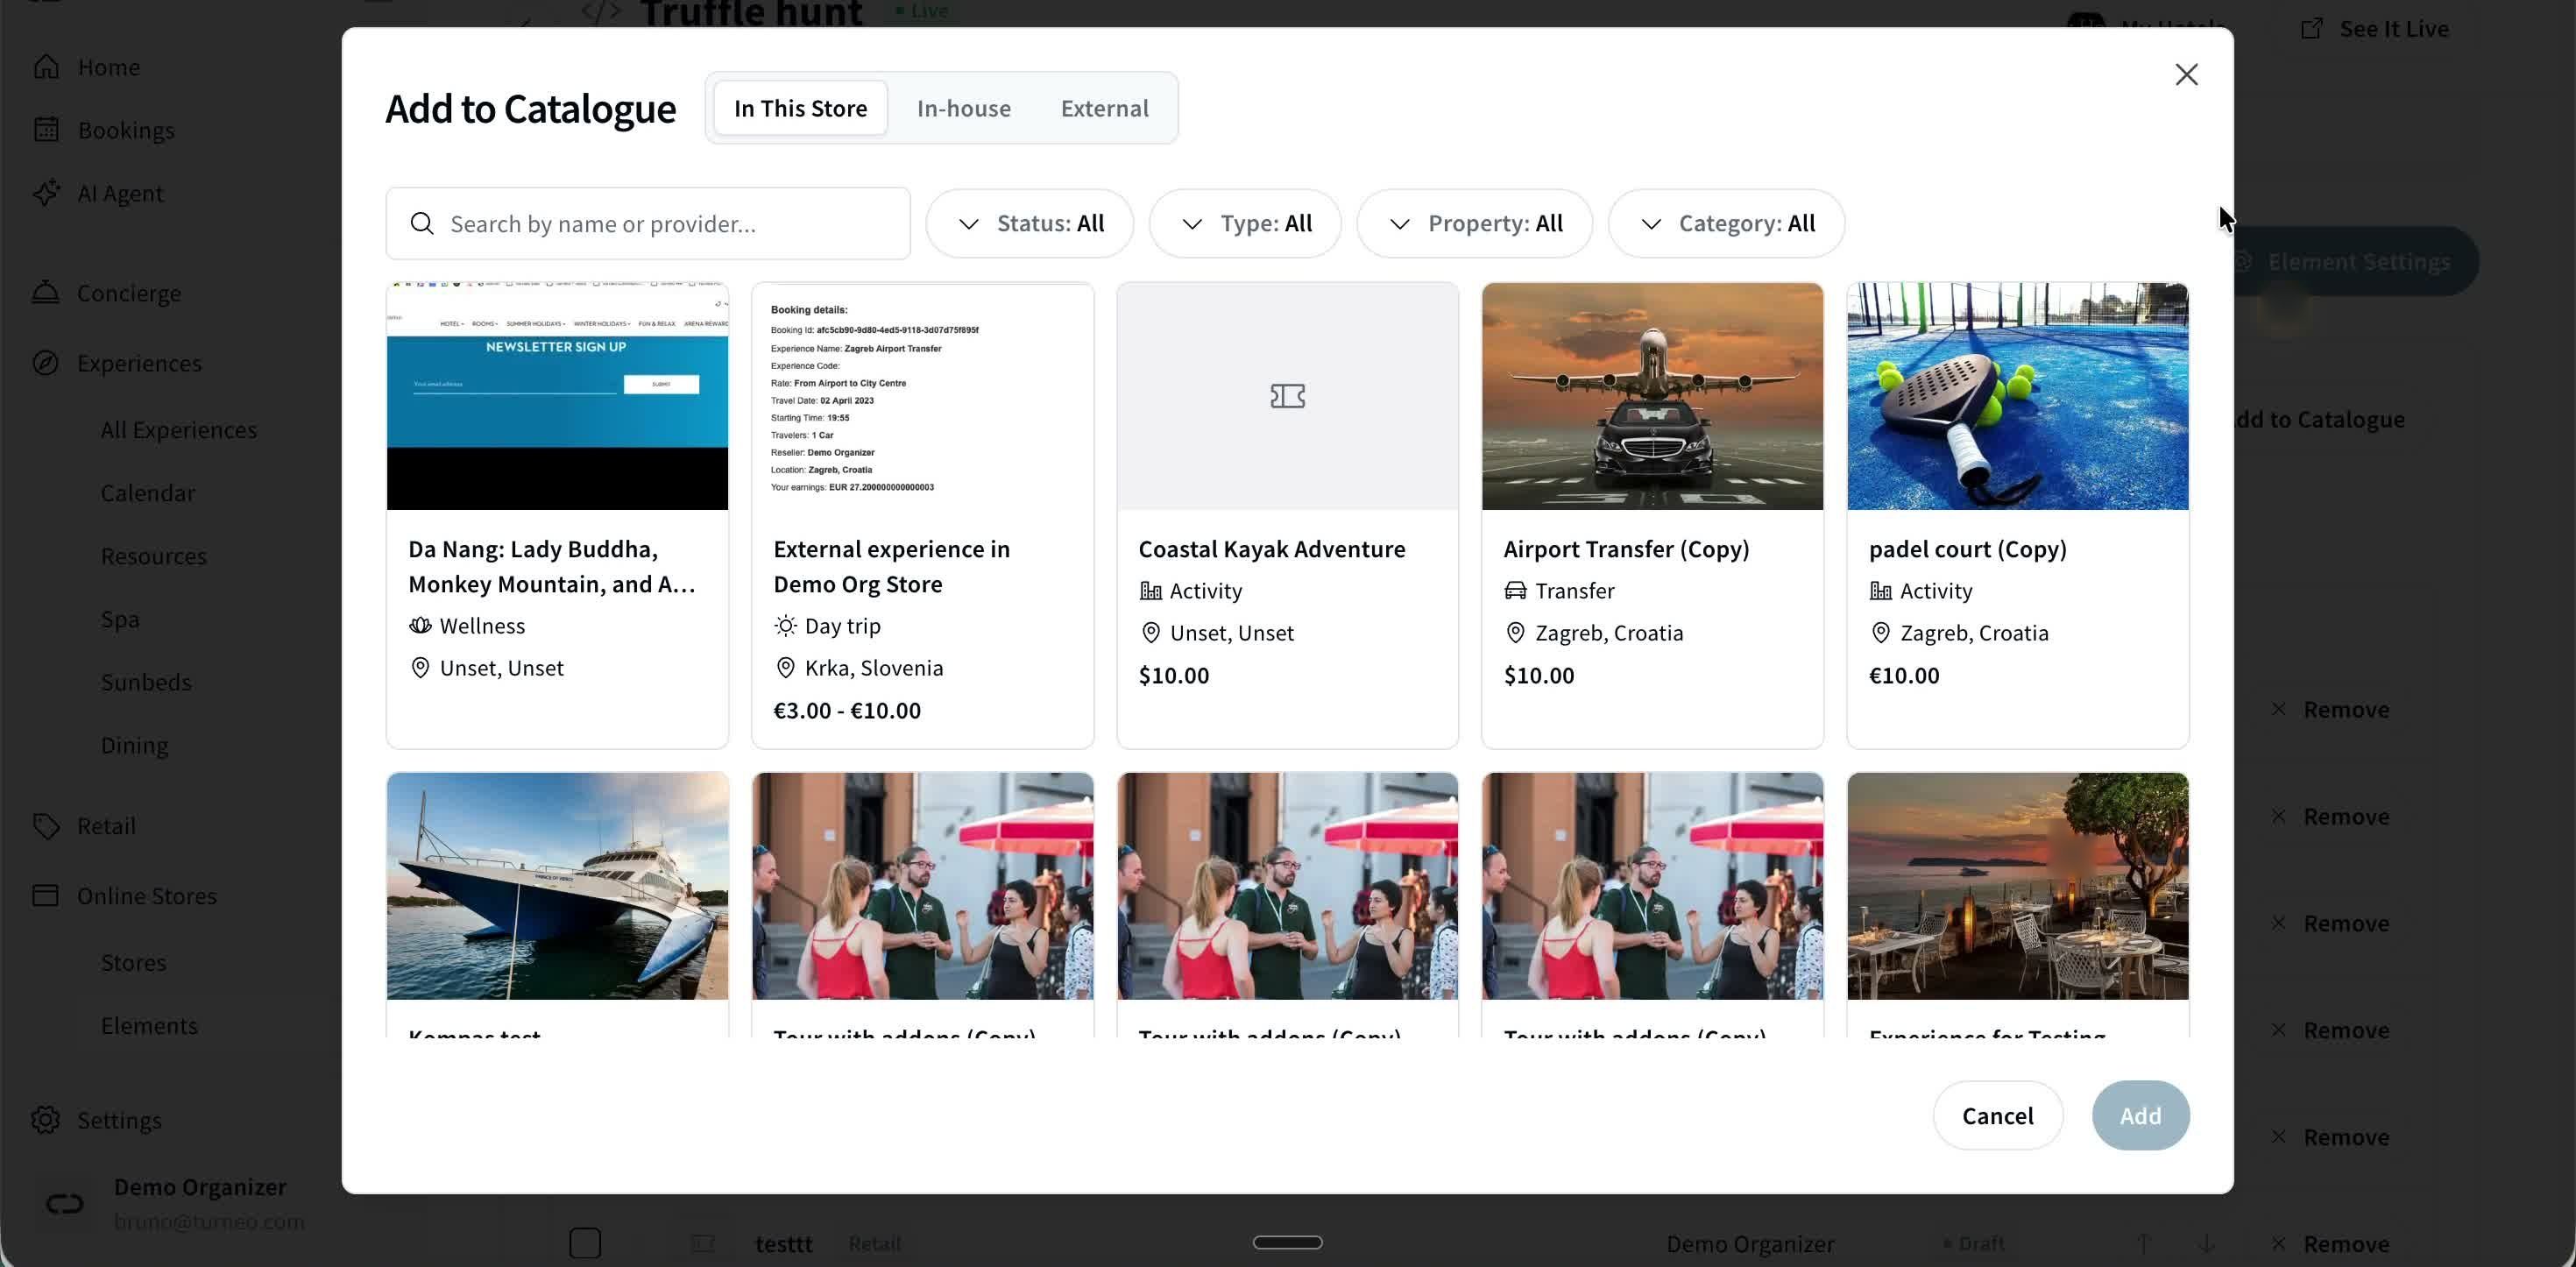
Adding experiences to an Element's catalogue — In This Store, In-house and External tabs.
- Turn on AI Sort if you want Turneo to automatically order the experiences shown in this Element for you — you can change this later
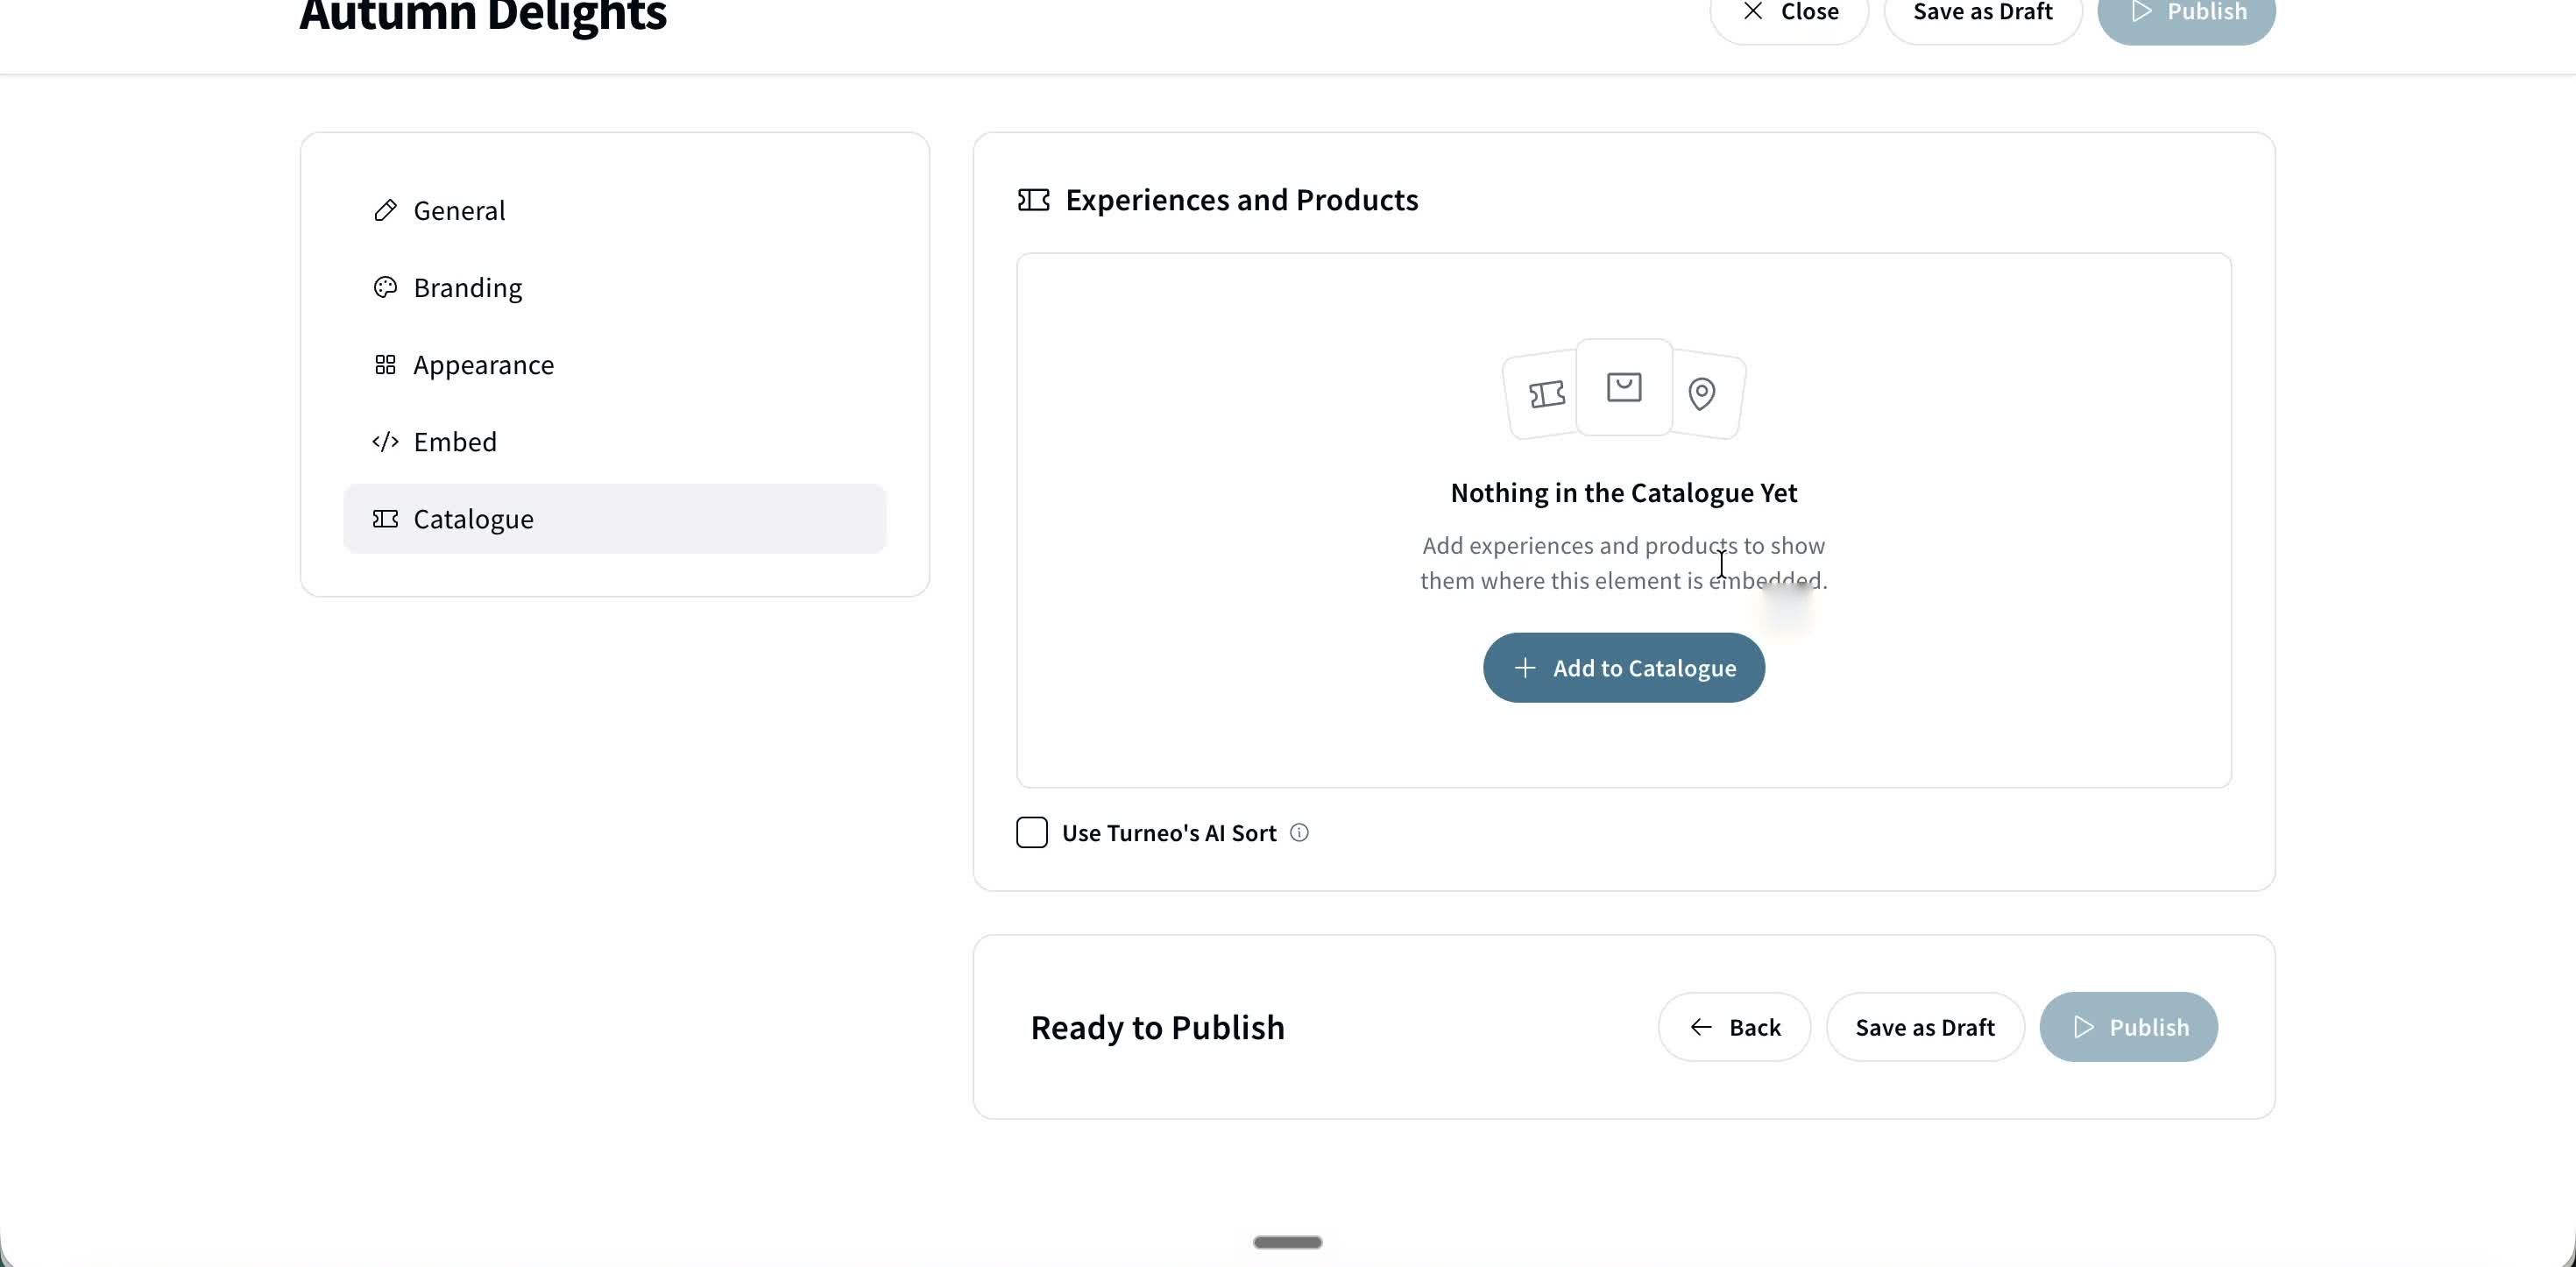
The Catalogue tab with the AI Sort toggle. An empty catalogue blocks Publish until you add at least one experience.
- Under Branding, set the colours, fonts and corner style for this Element — or leave it as is to inherit the branding you've already set for the Store
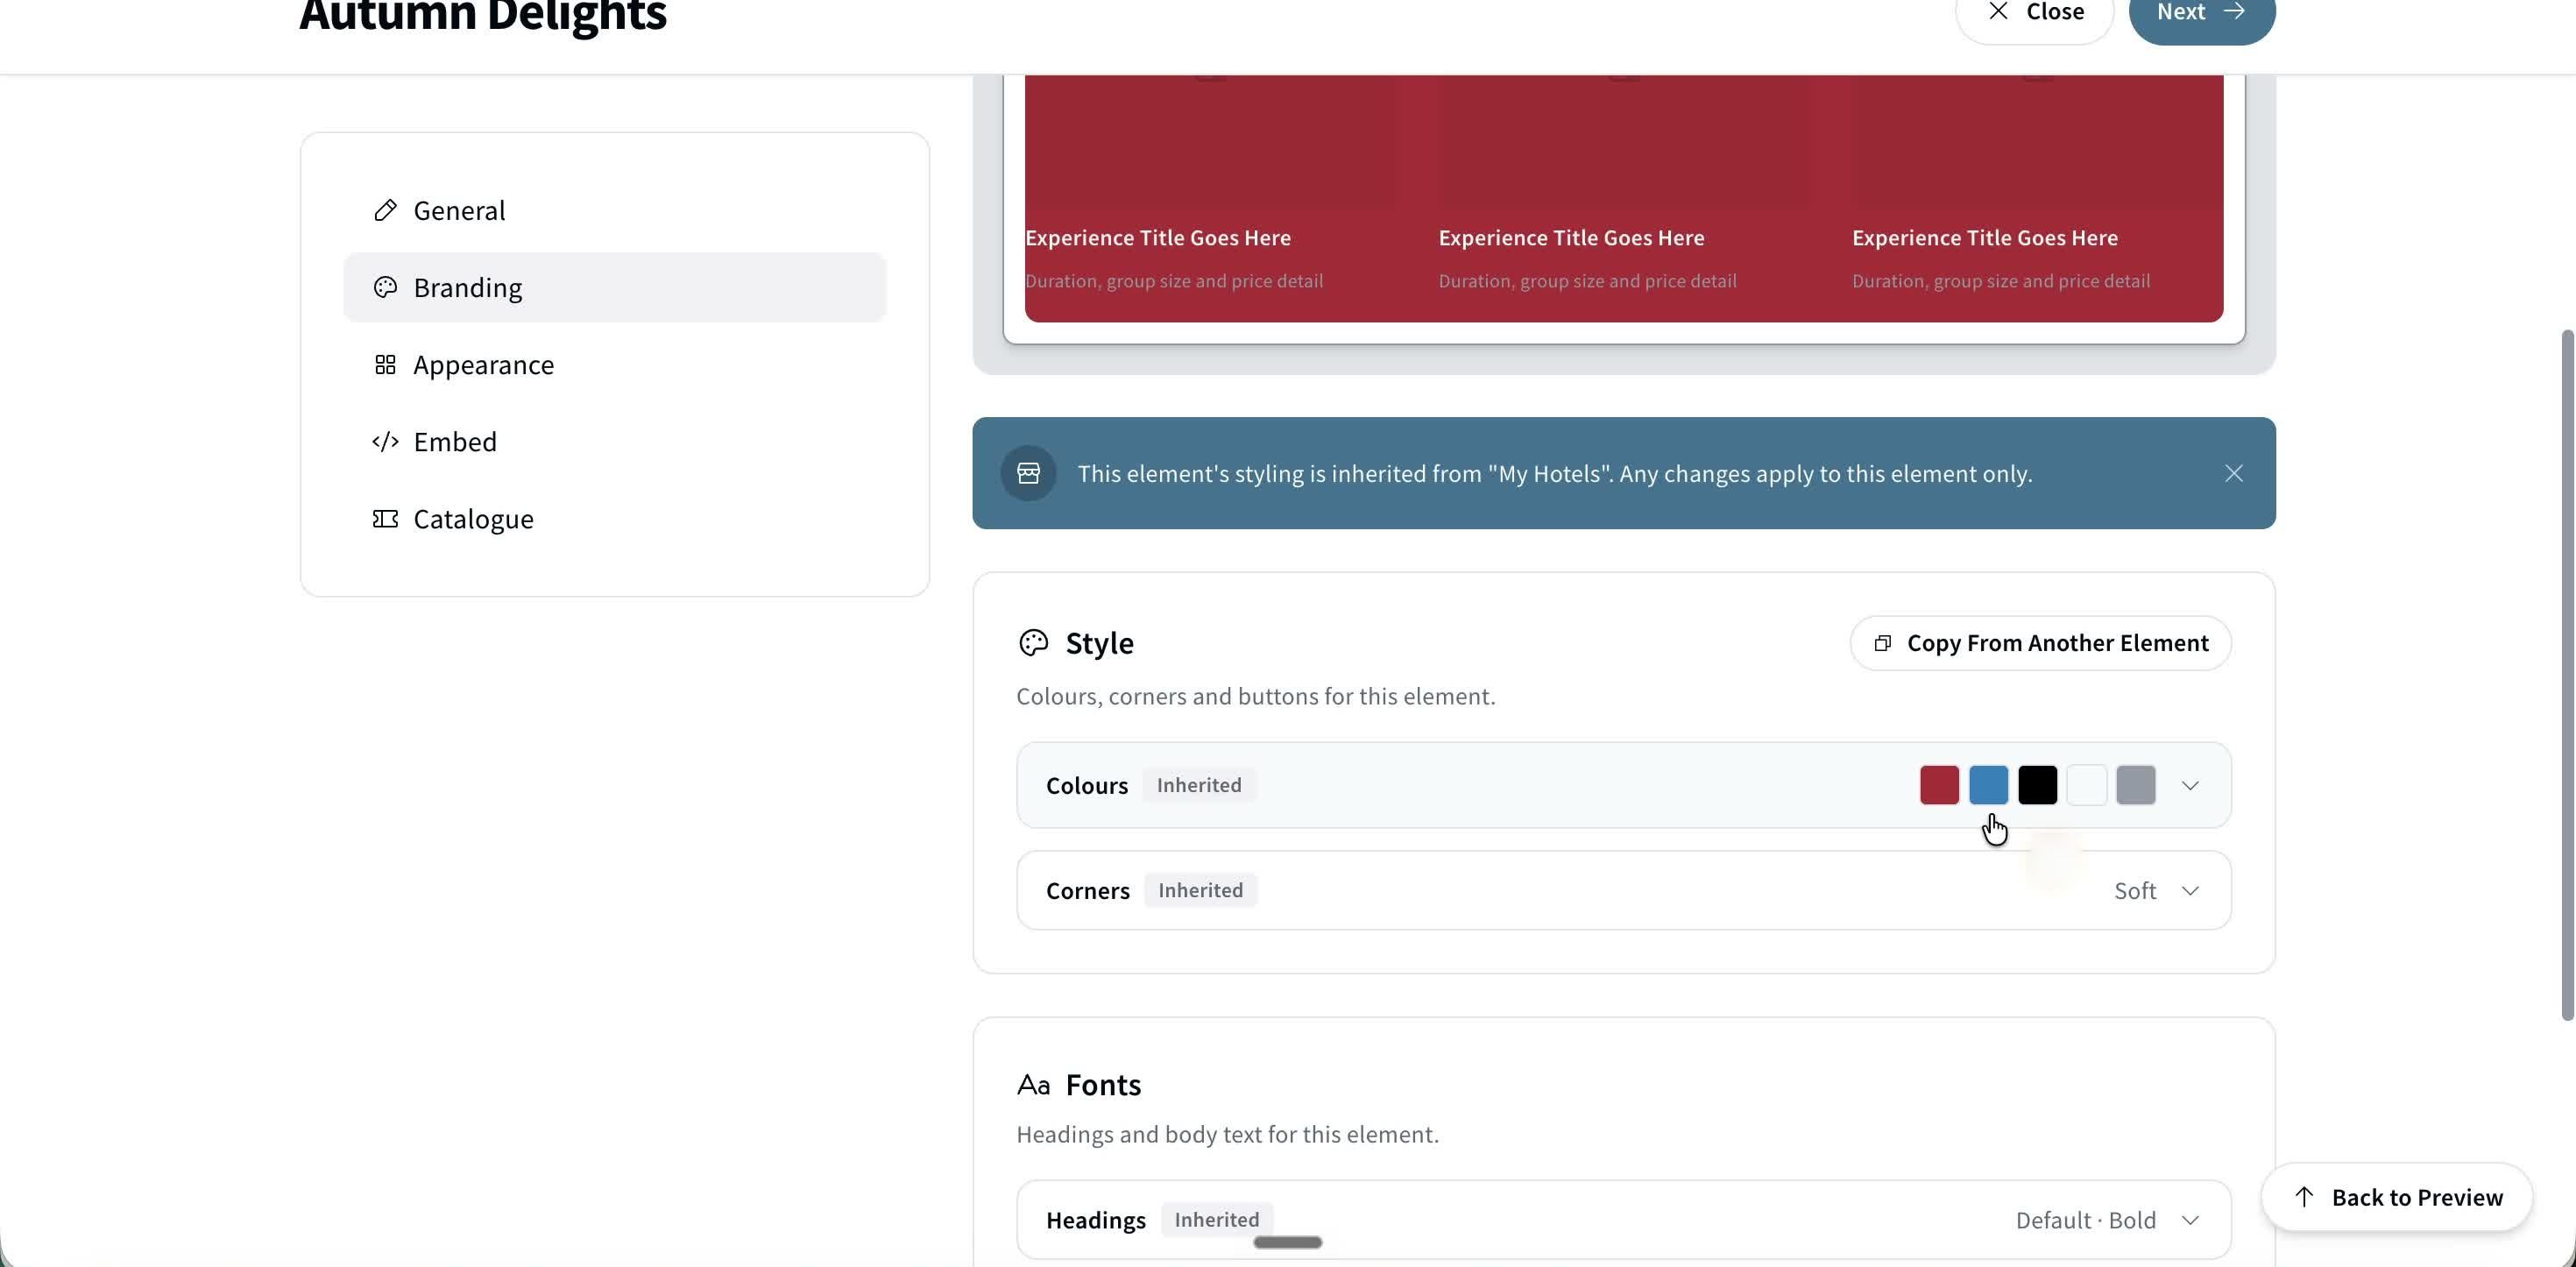
The Branding tab, inheriting colours and corners from the Store by default.
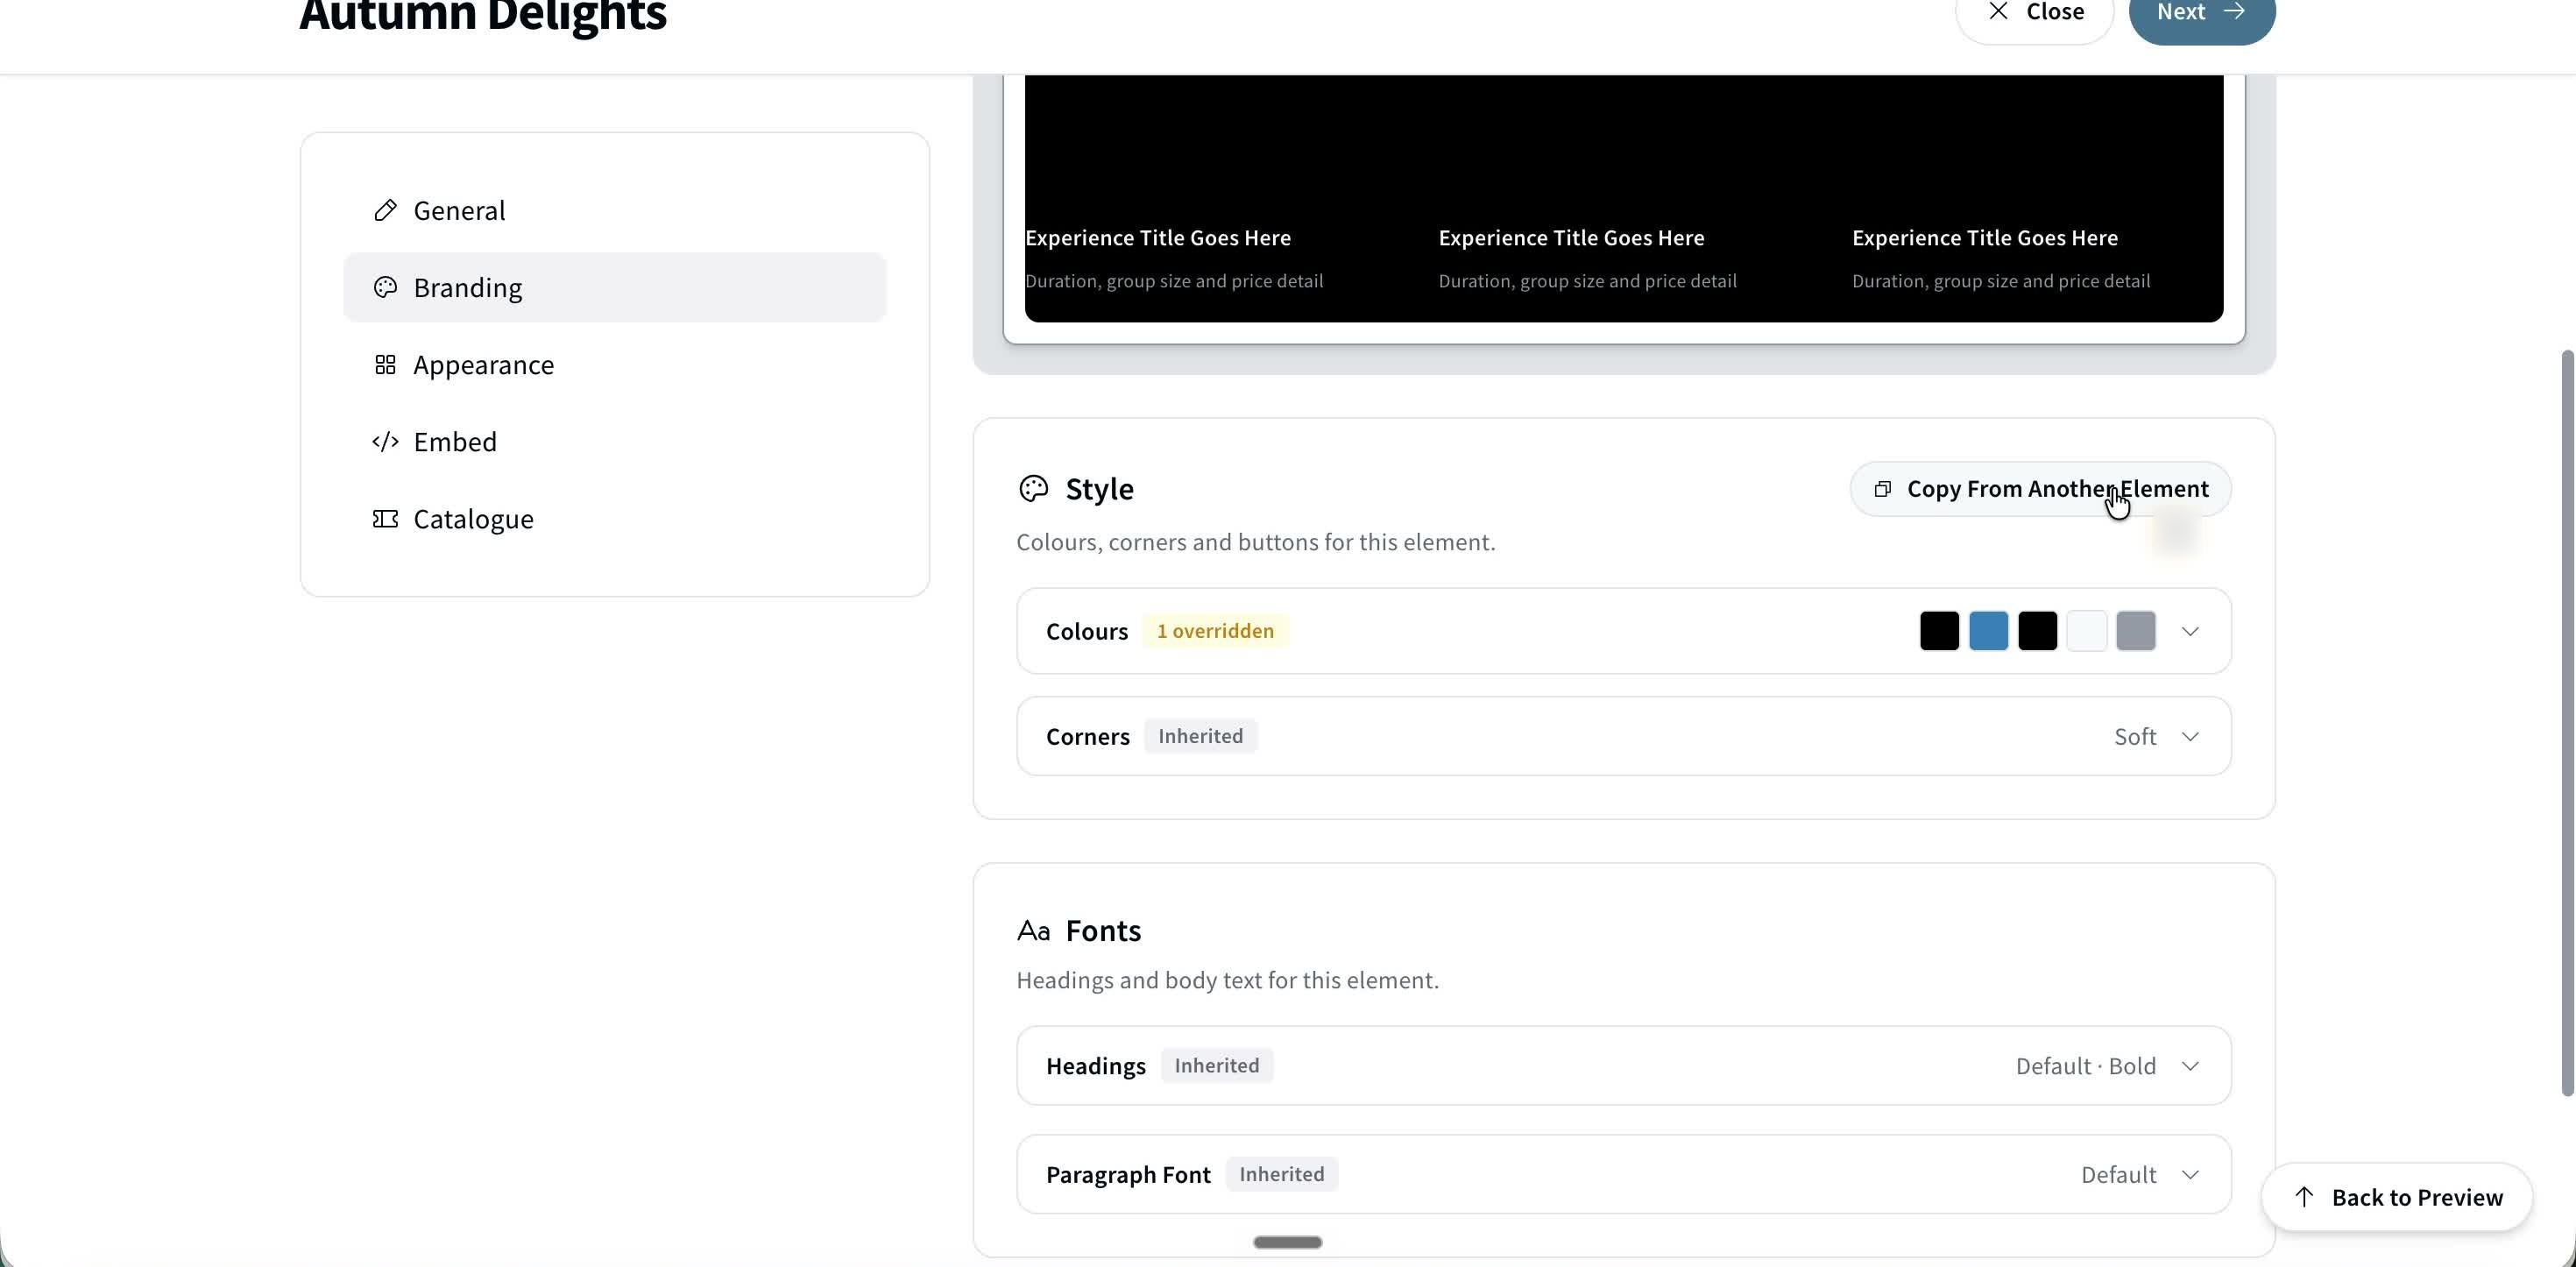
Overriding a colour for this Element only, or using Copy From Another Element to reuse a different Element's styling.
- Under Appearance, choose how experiences are displayed — Grid or Carousel — plus any advanced styling options
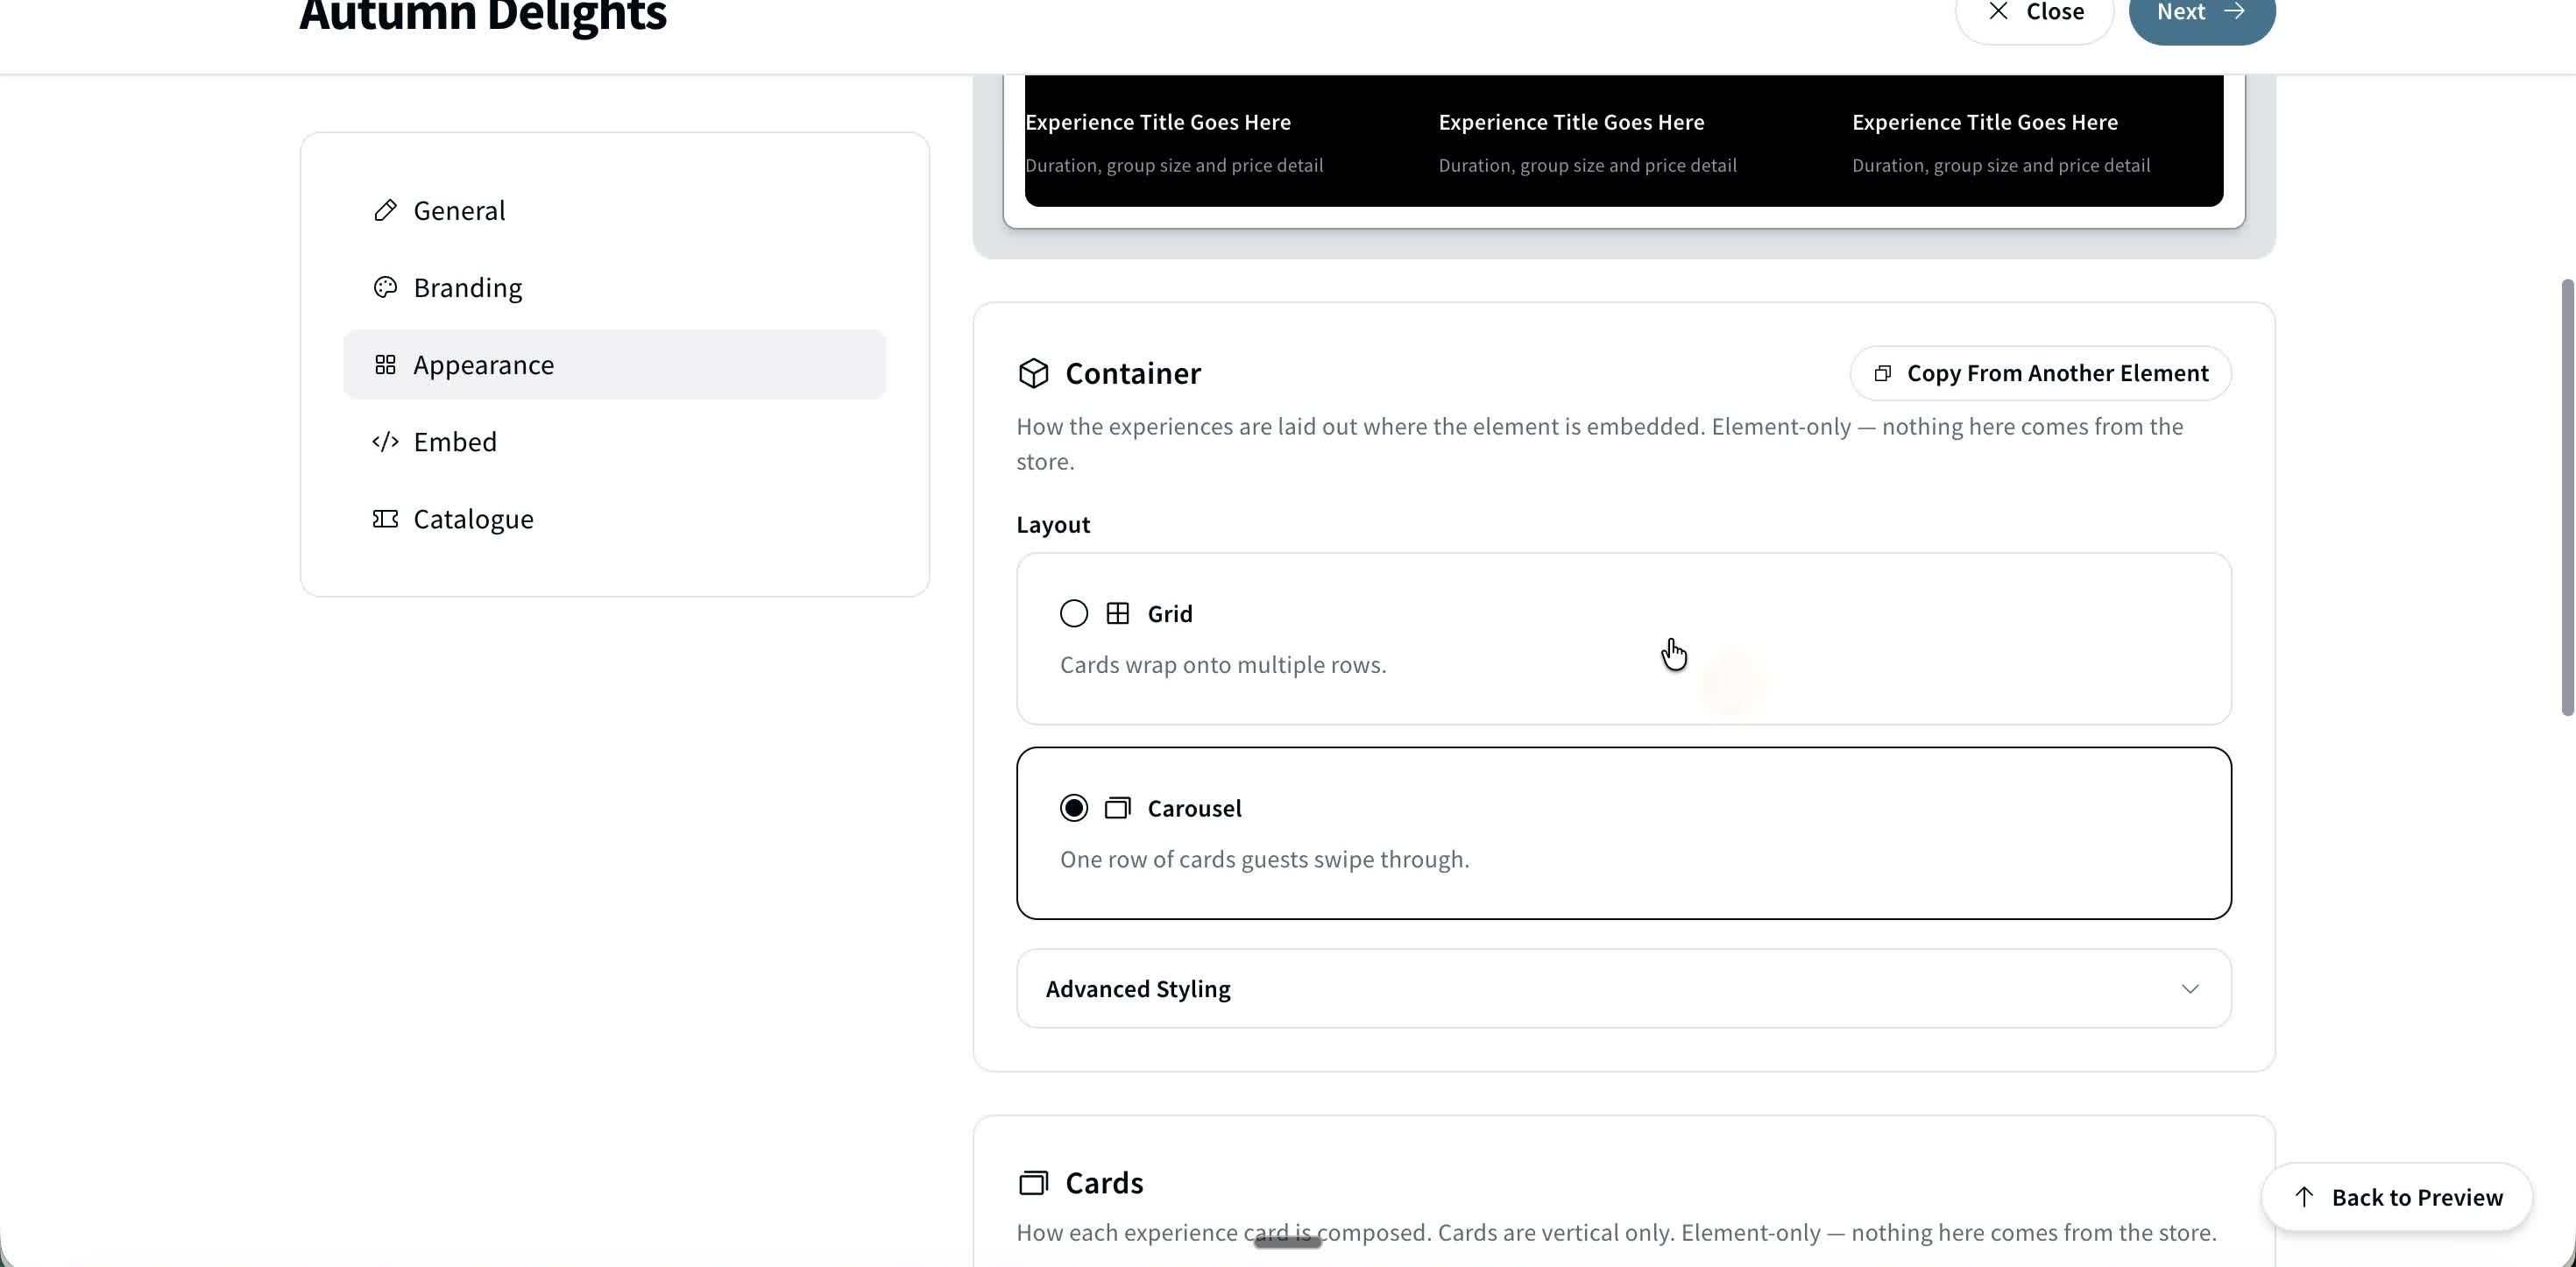
The Appearance tab — Grid or Carousel layout, plus Advanced Styling.
- Under Embed, copy the embed code for your website. This is also where you'll see Geo (Generative Engine Optimisation), a paid add-on if you don't already have it enabled
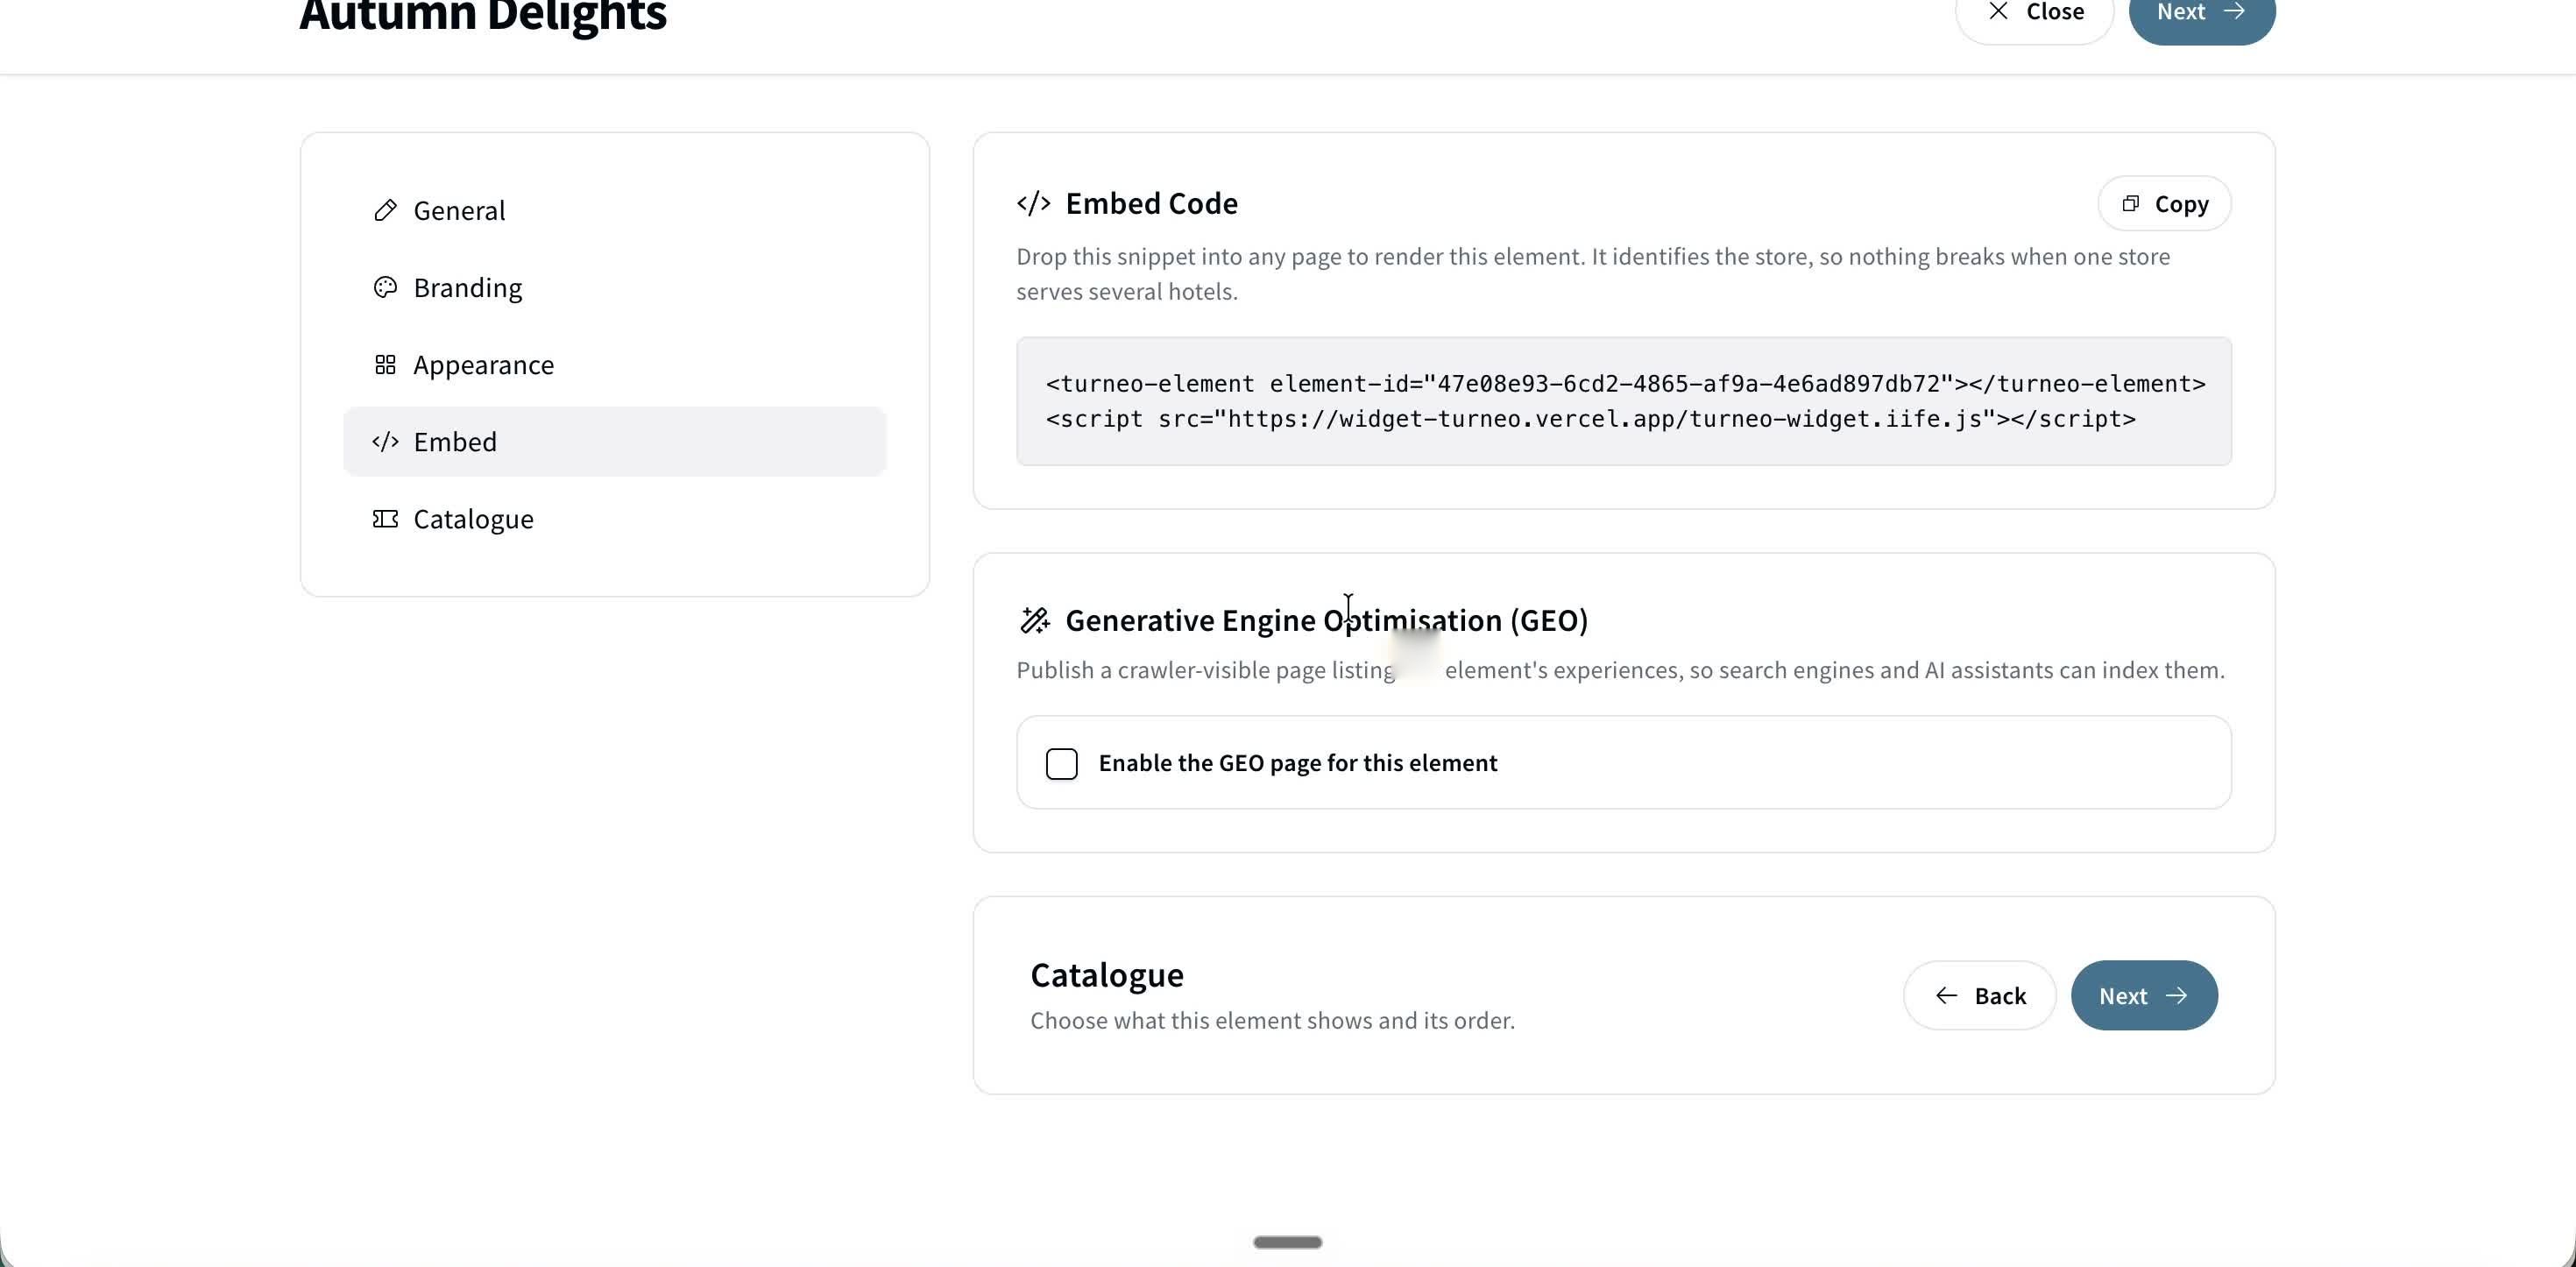
The Embed tab — embed code, and the Geo add-on.
- Click Publish once you've added at least one experience to the catalogue
You can also create a new Element without leaving a Store: open the Store, go to its Elements tab, and start a new Element from there.
Colours, fonts and corners set at the Store level apply to every Element linked to that Store by default. Use Copy From Another Element in the Branding tab, or set your own colours here, if you want this Element to look different.
📋 View and manage your Elements
The Elements page lists every Element you've created. You can:
- Switch between Table and Card view — Card view also shows a preview of the experiences inside each Element

Table view.
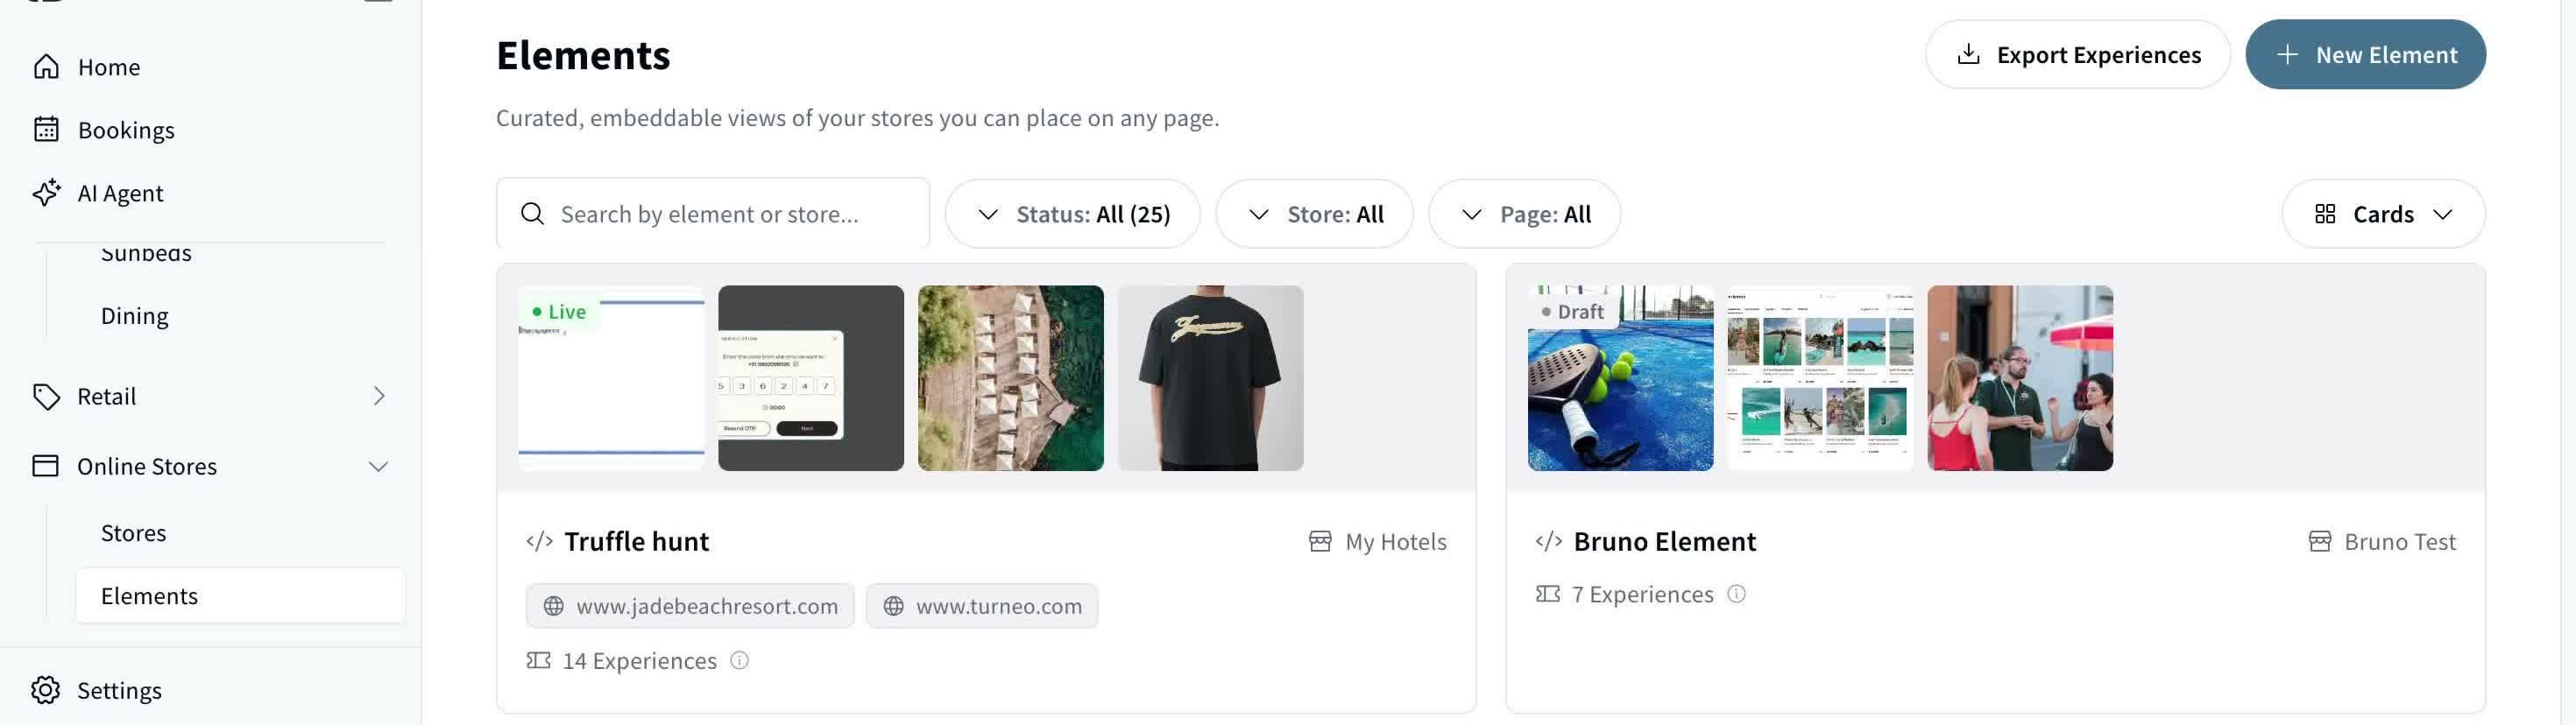
Card view — each card previews the experiences inside that Element.
- Click Export to download a CSV or Excel file of the experiences in one Element or across all of them
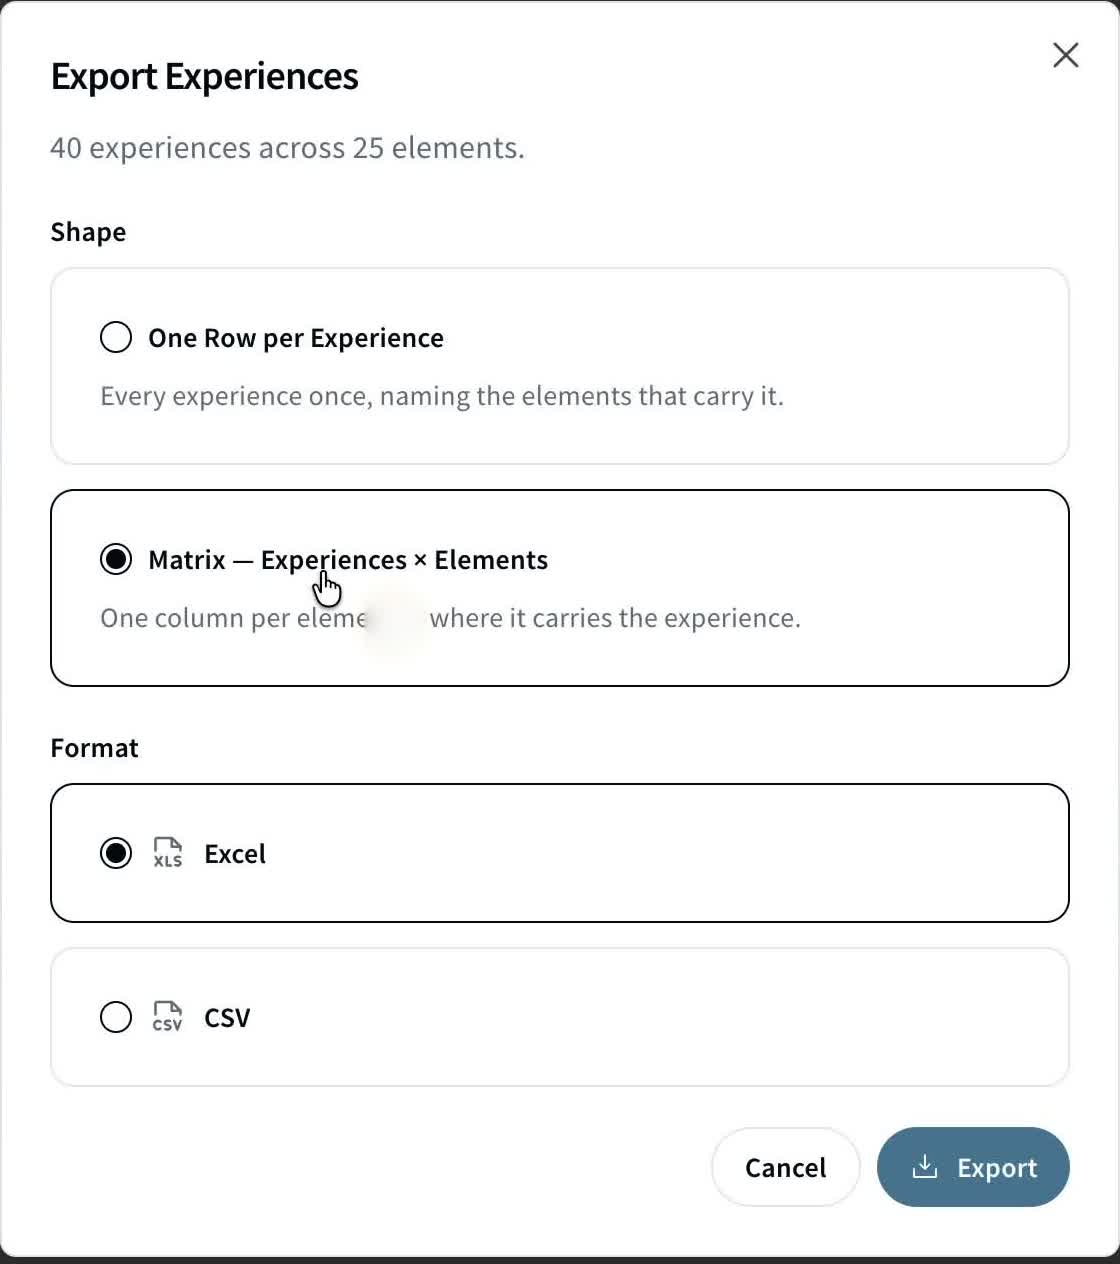
The Export dialog, launched from the Elements page.
- Open an Element and click Add to Catalogue to add more experiences without starting a new Element
🔗 See where your Element is live
Open an Element to find two ways to check its deployment:
- See it live — takes you straight to the page on your website where this Element is embedded
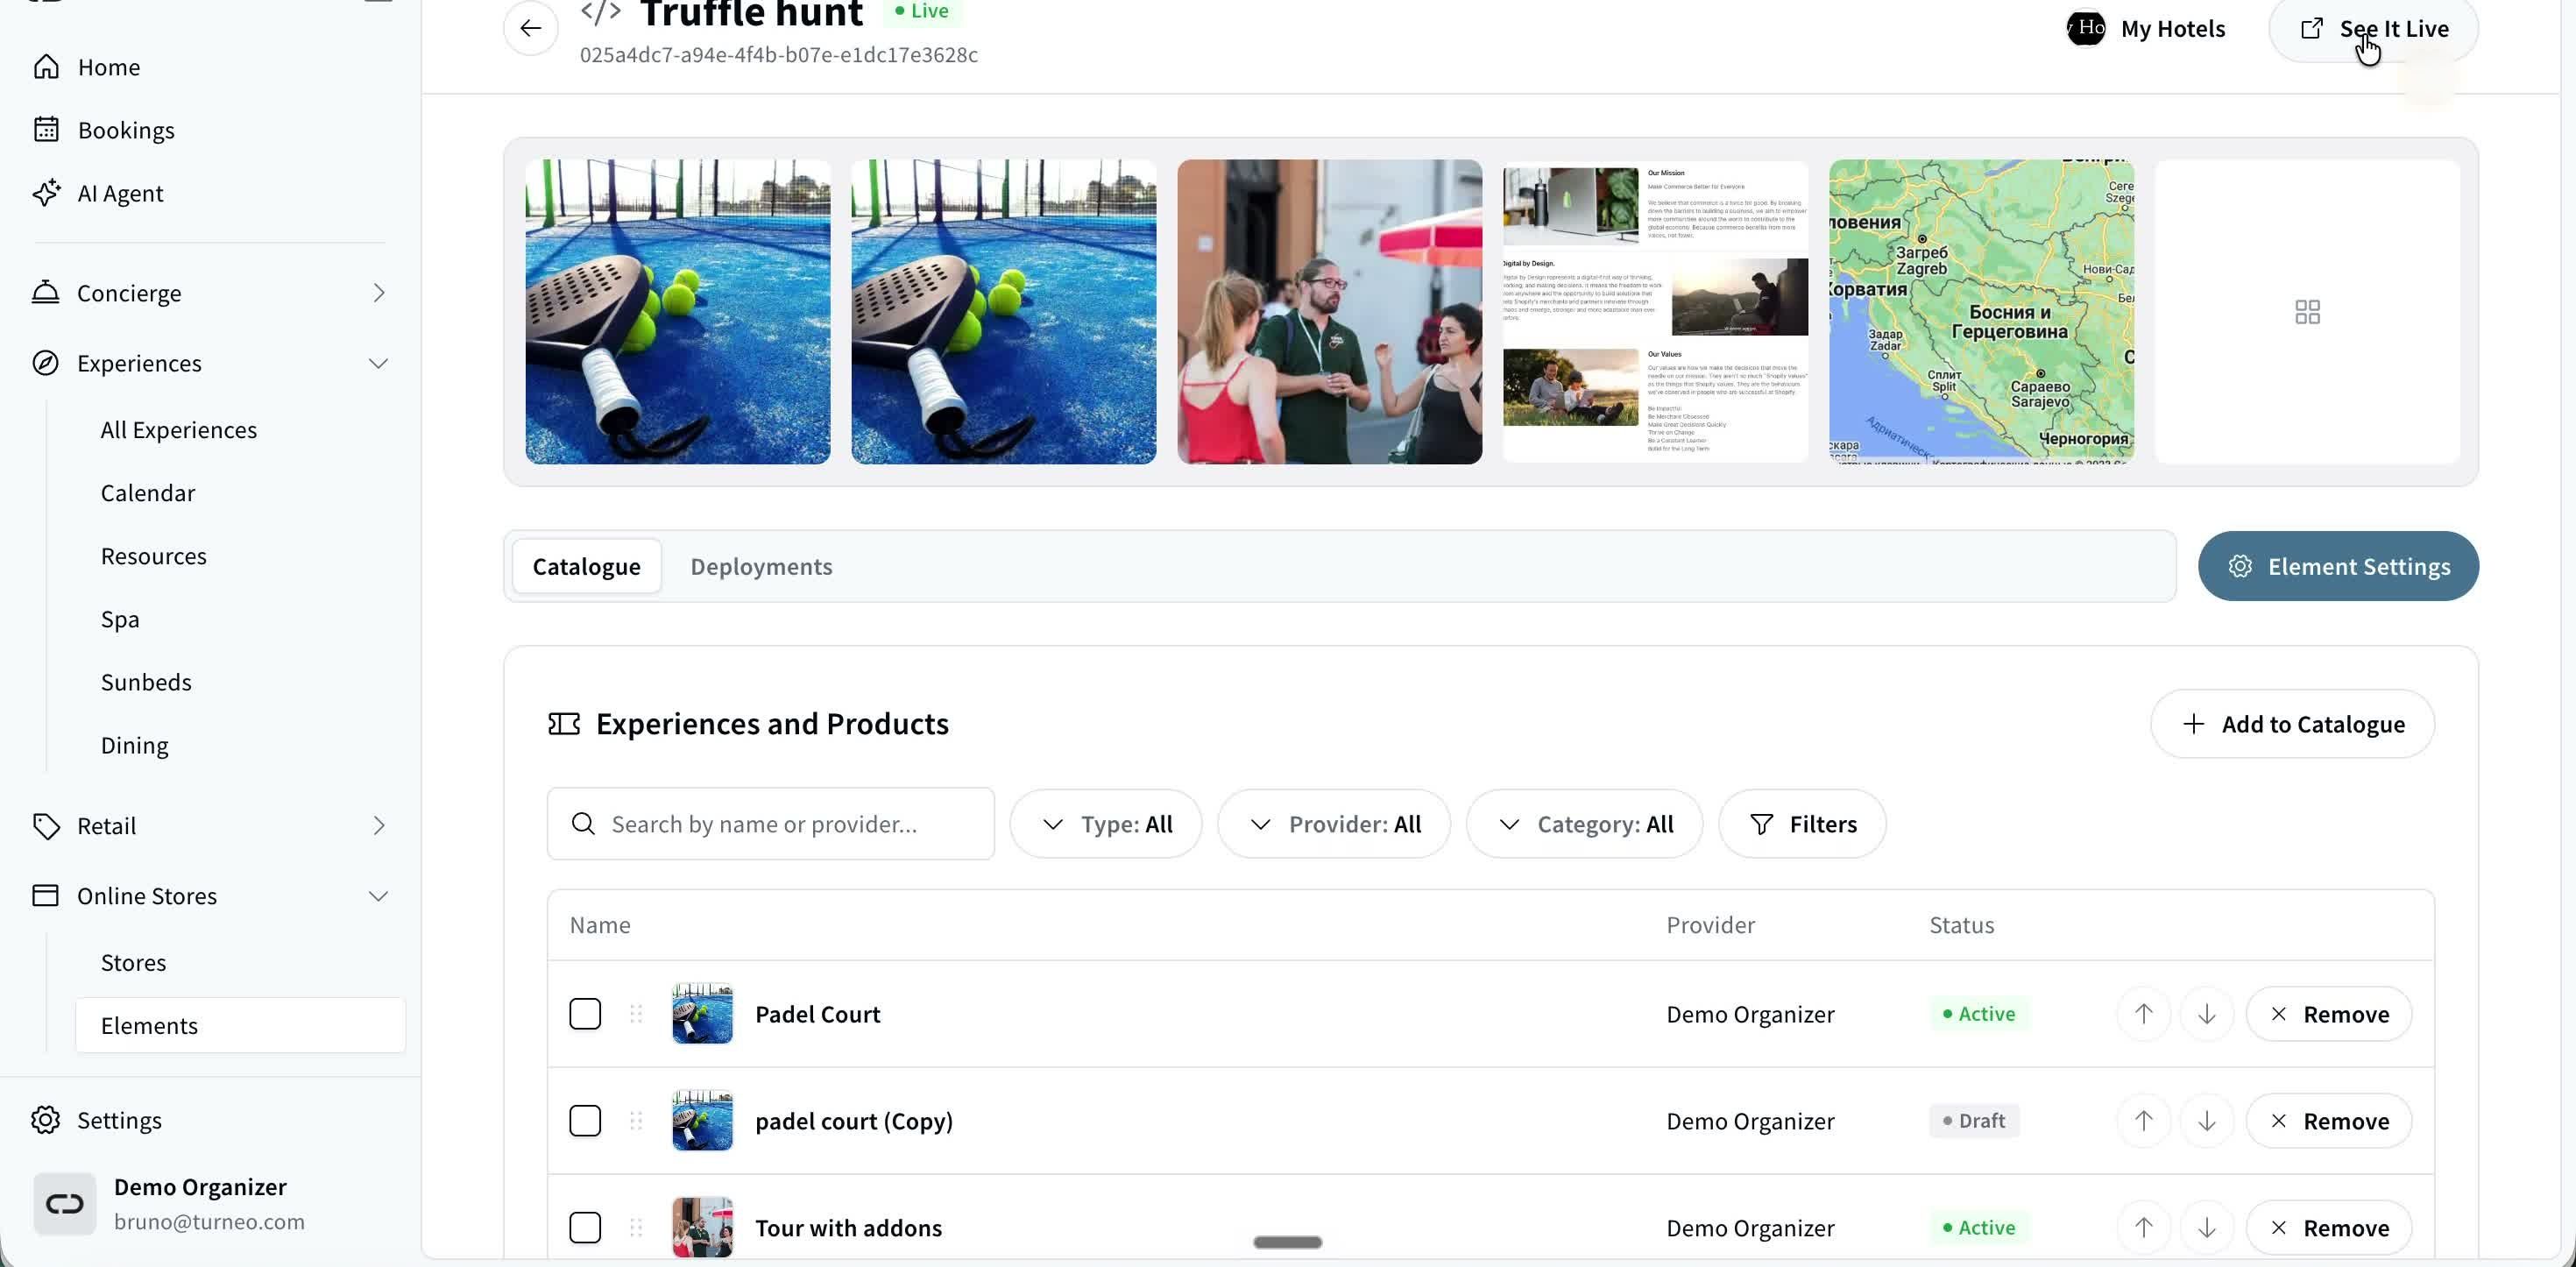
An Element's page, with the See It Live button top-right.
- Deployments — shows the embed code (with a Copy button), everywhere the Element has been deployed, and its visitor numbers
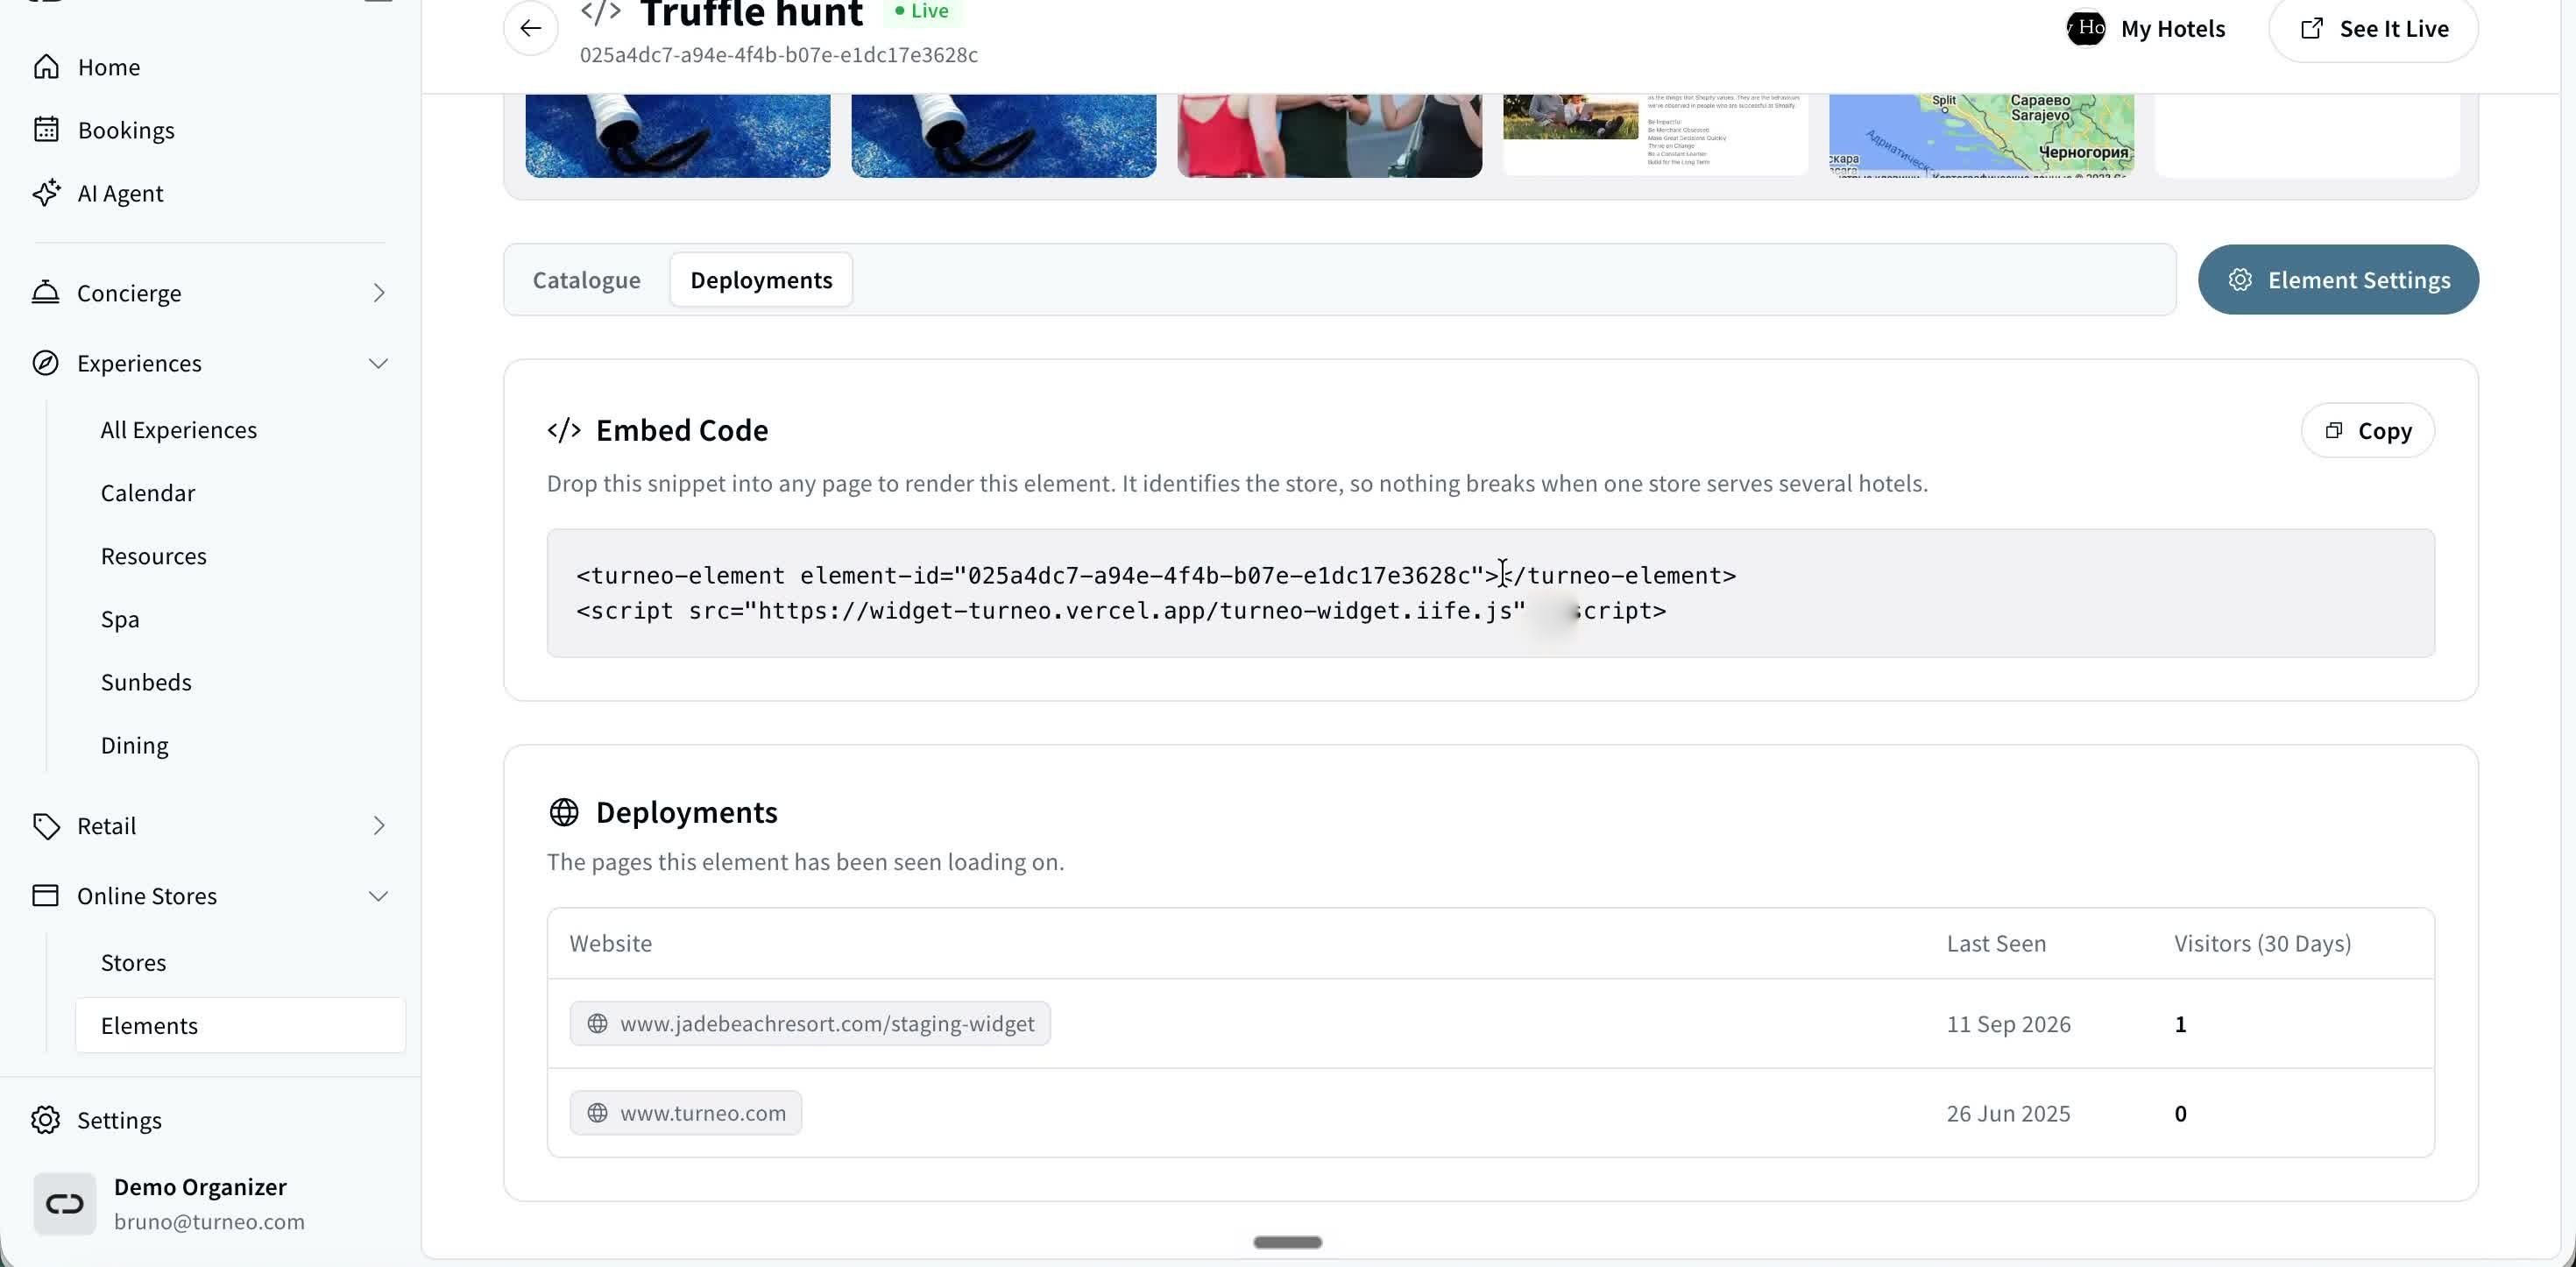
The Deployments tab — embed code, and a table of where the Element is live with visitor counts.
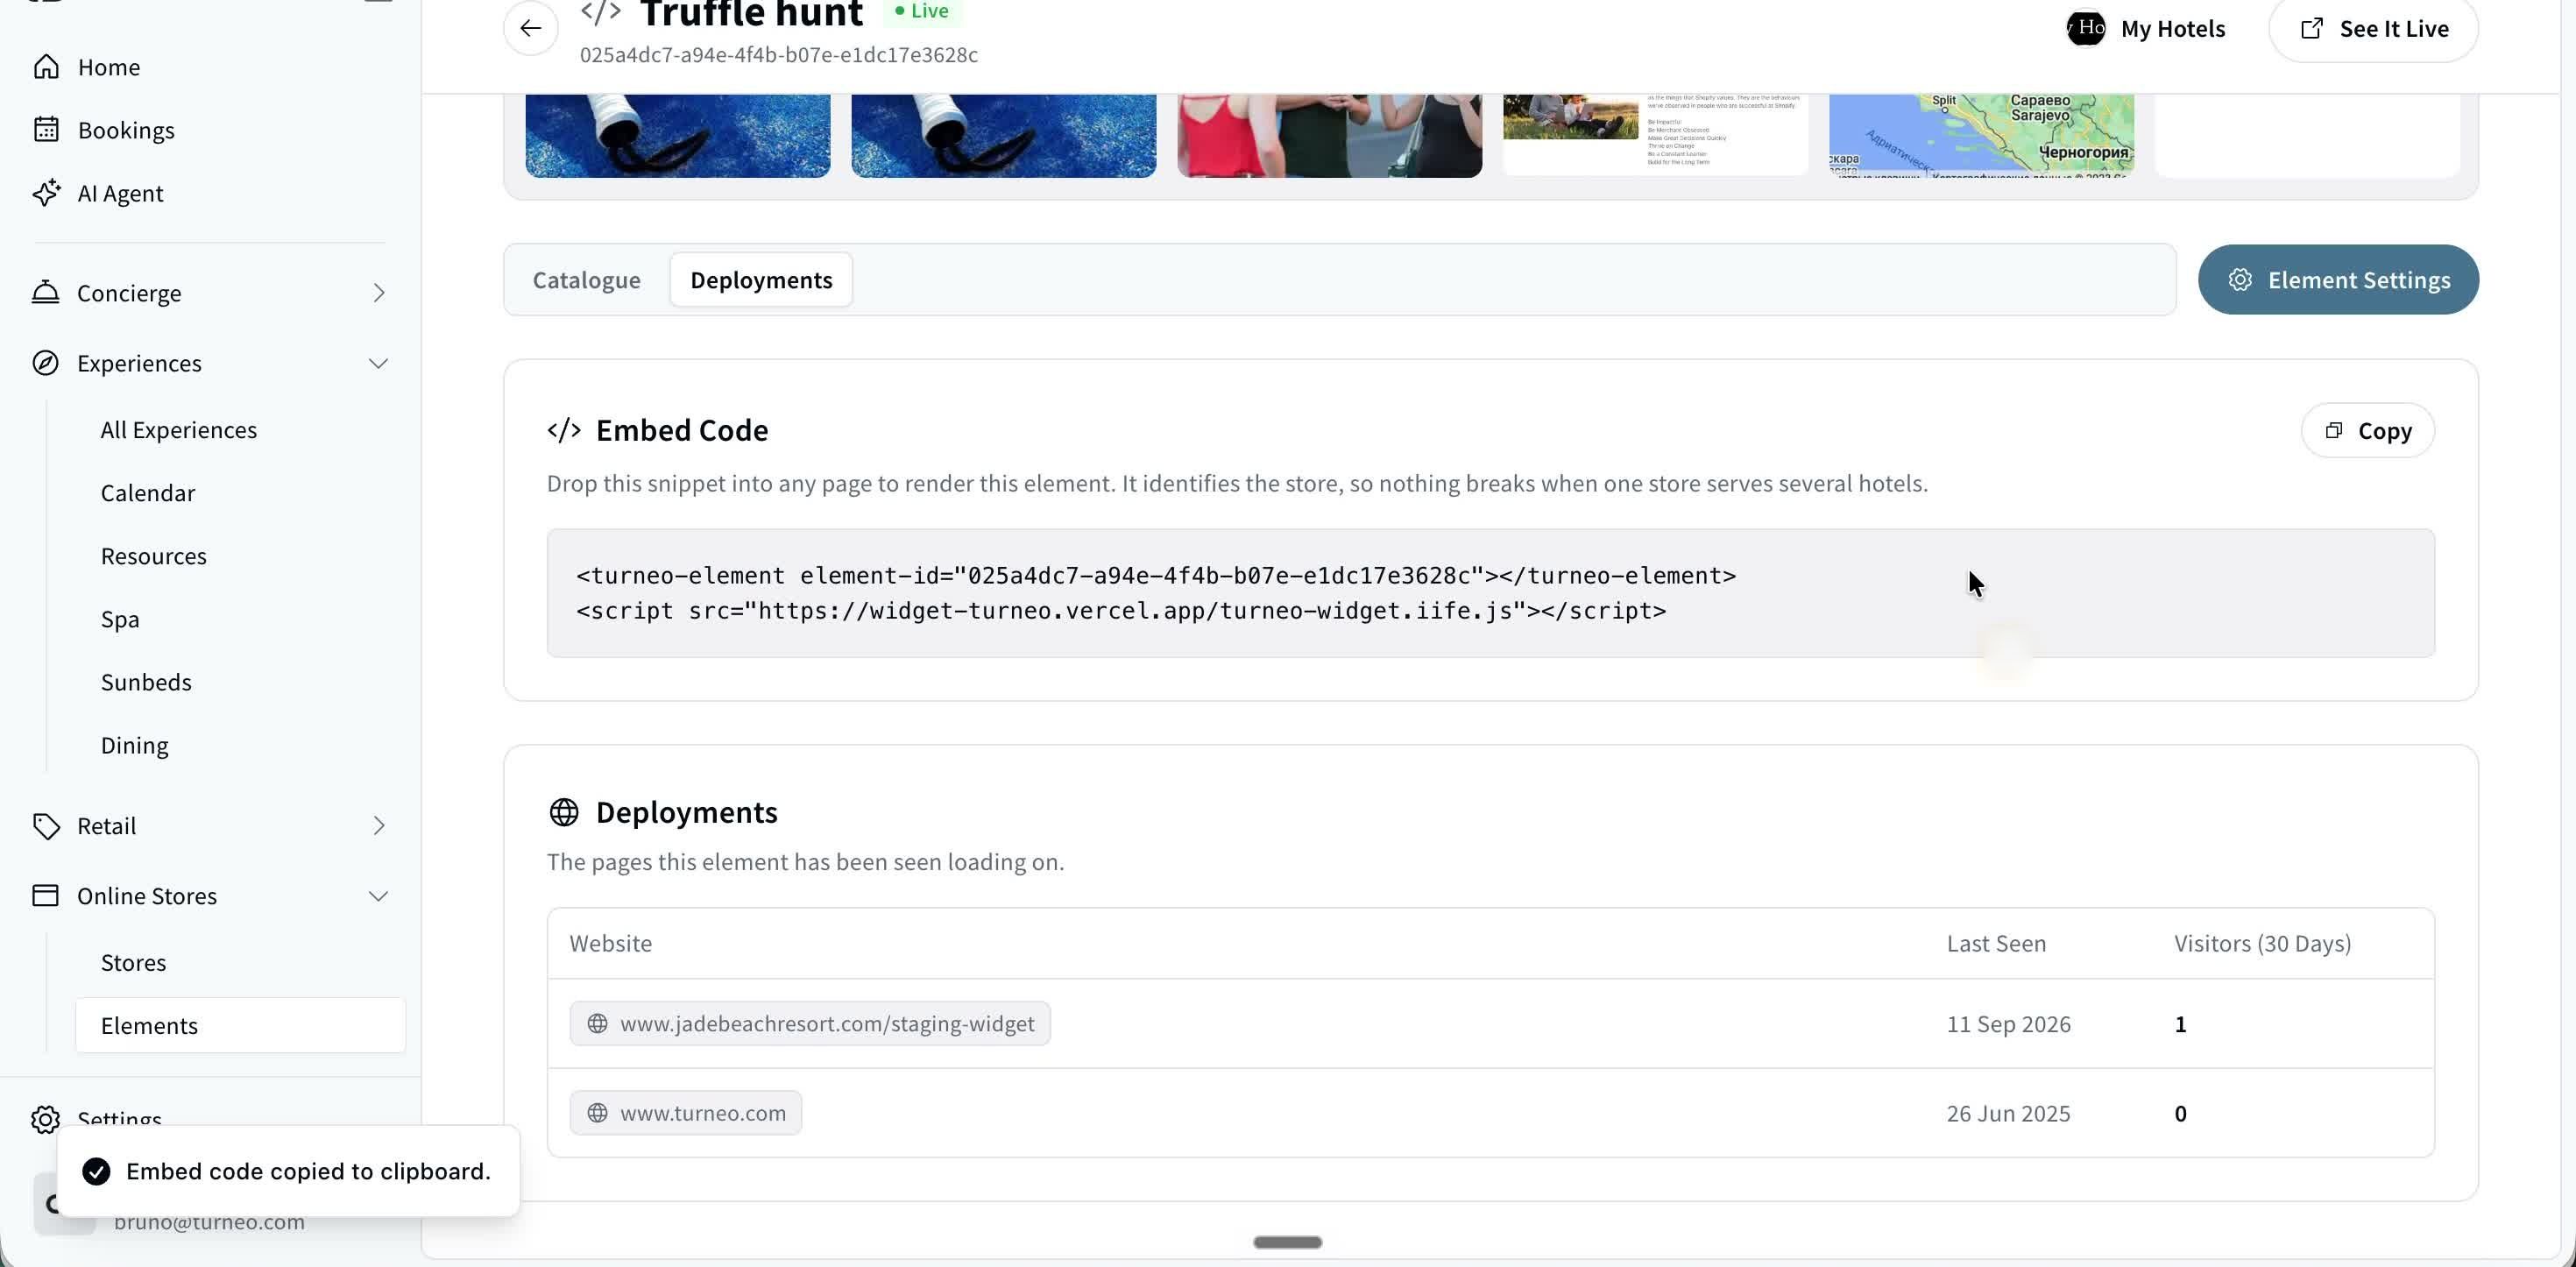
The confirmation after clicking Copy on the embed code.
⚡ Add an experience to an Element directly
You don't have to open an Element to add an experience to it. From the experience itself, go to its Selling tab, click Add to More Elements, and select which Element(s) it should appear in.
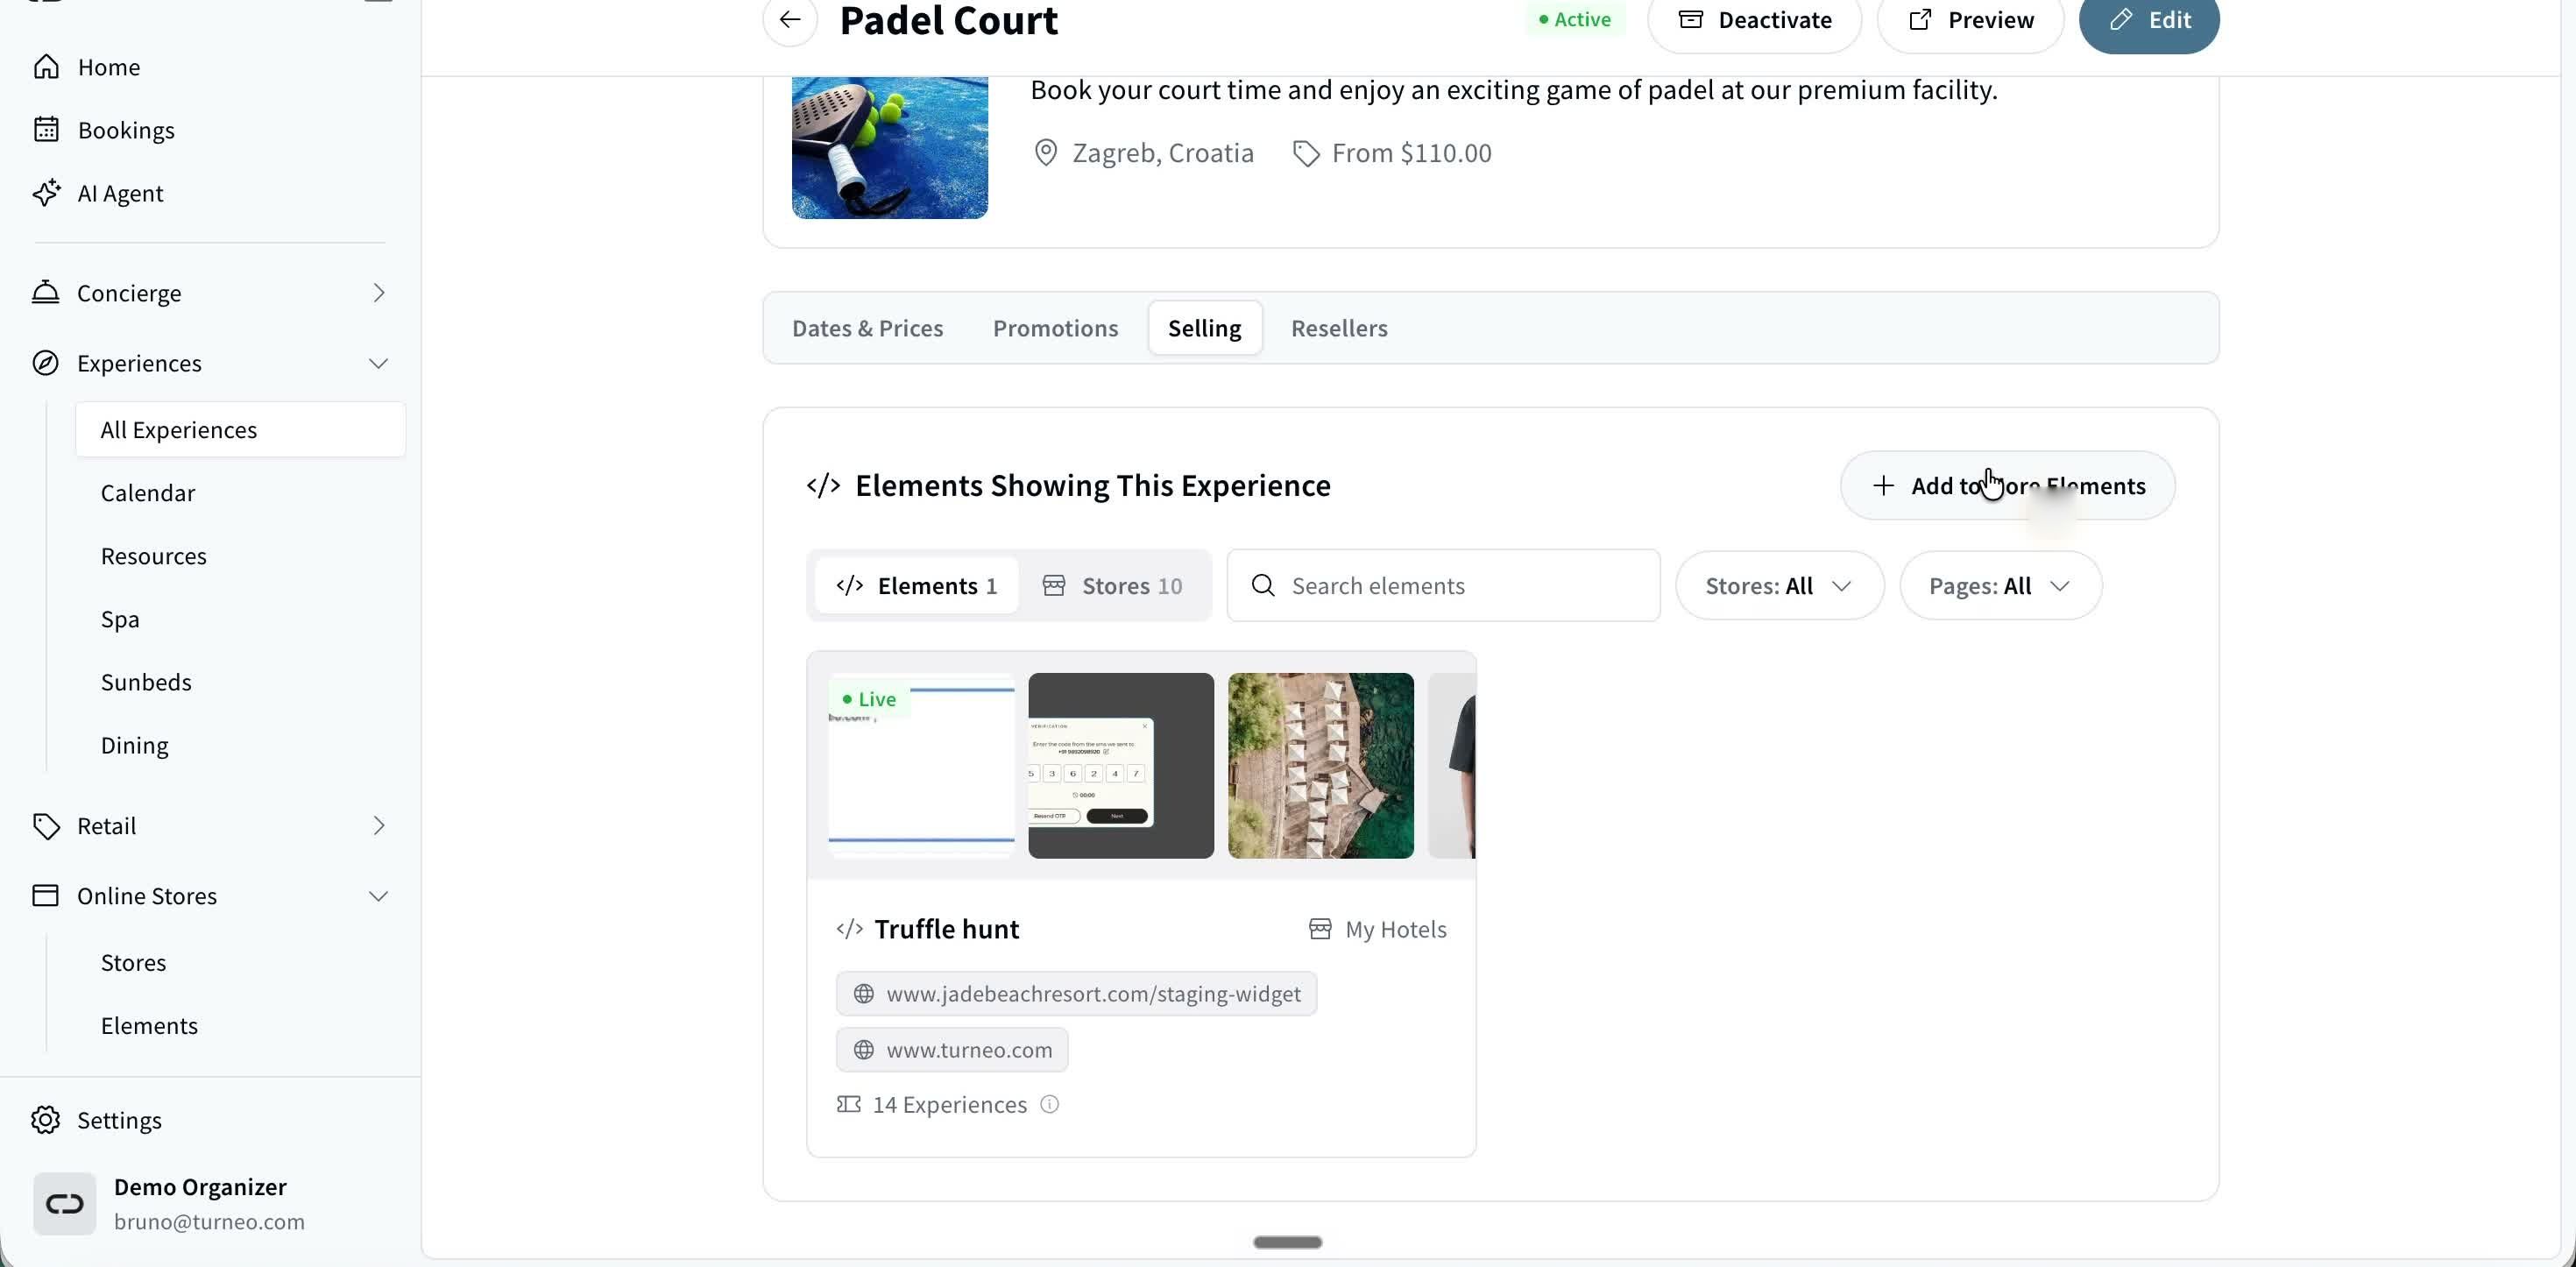
The Selling tab on an experience, with the Add to More Elements button.
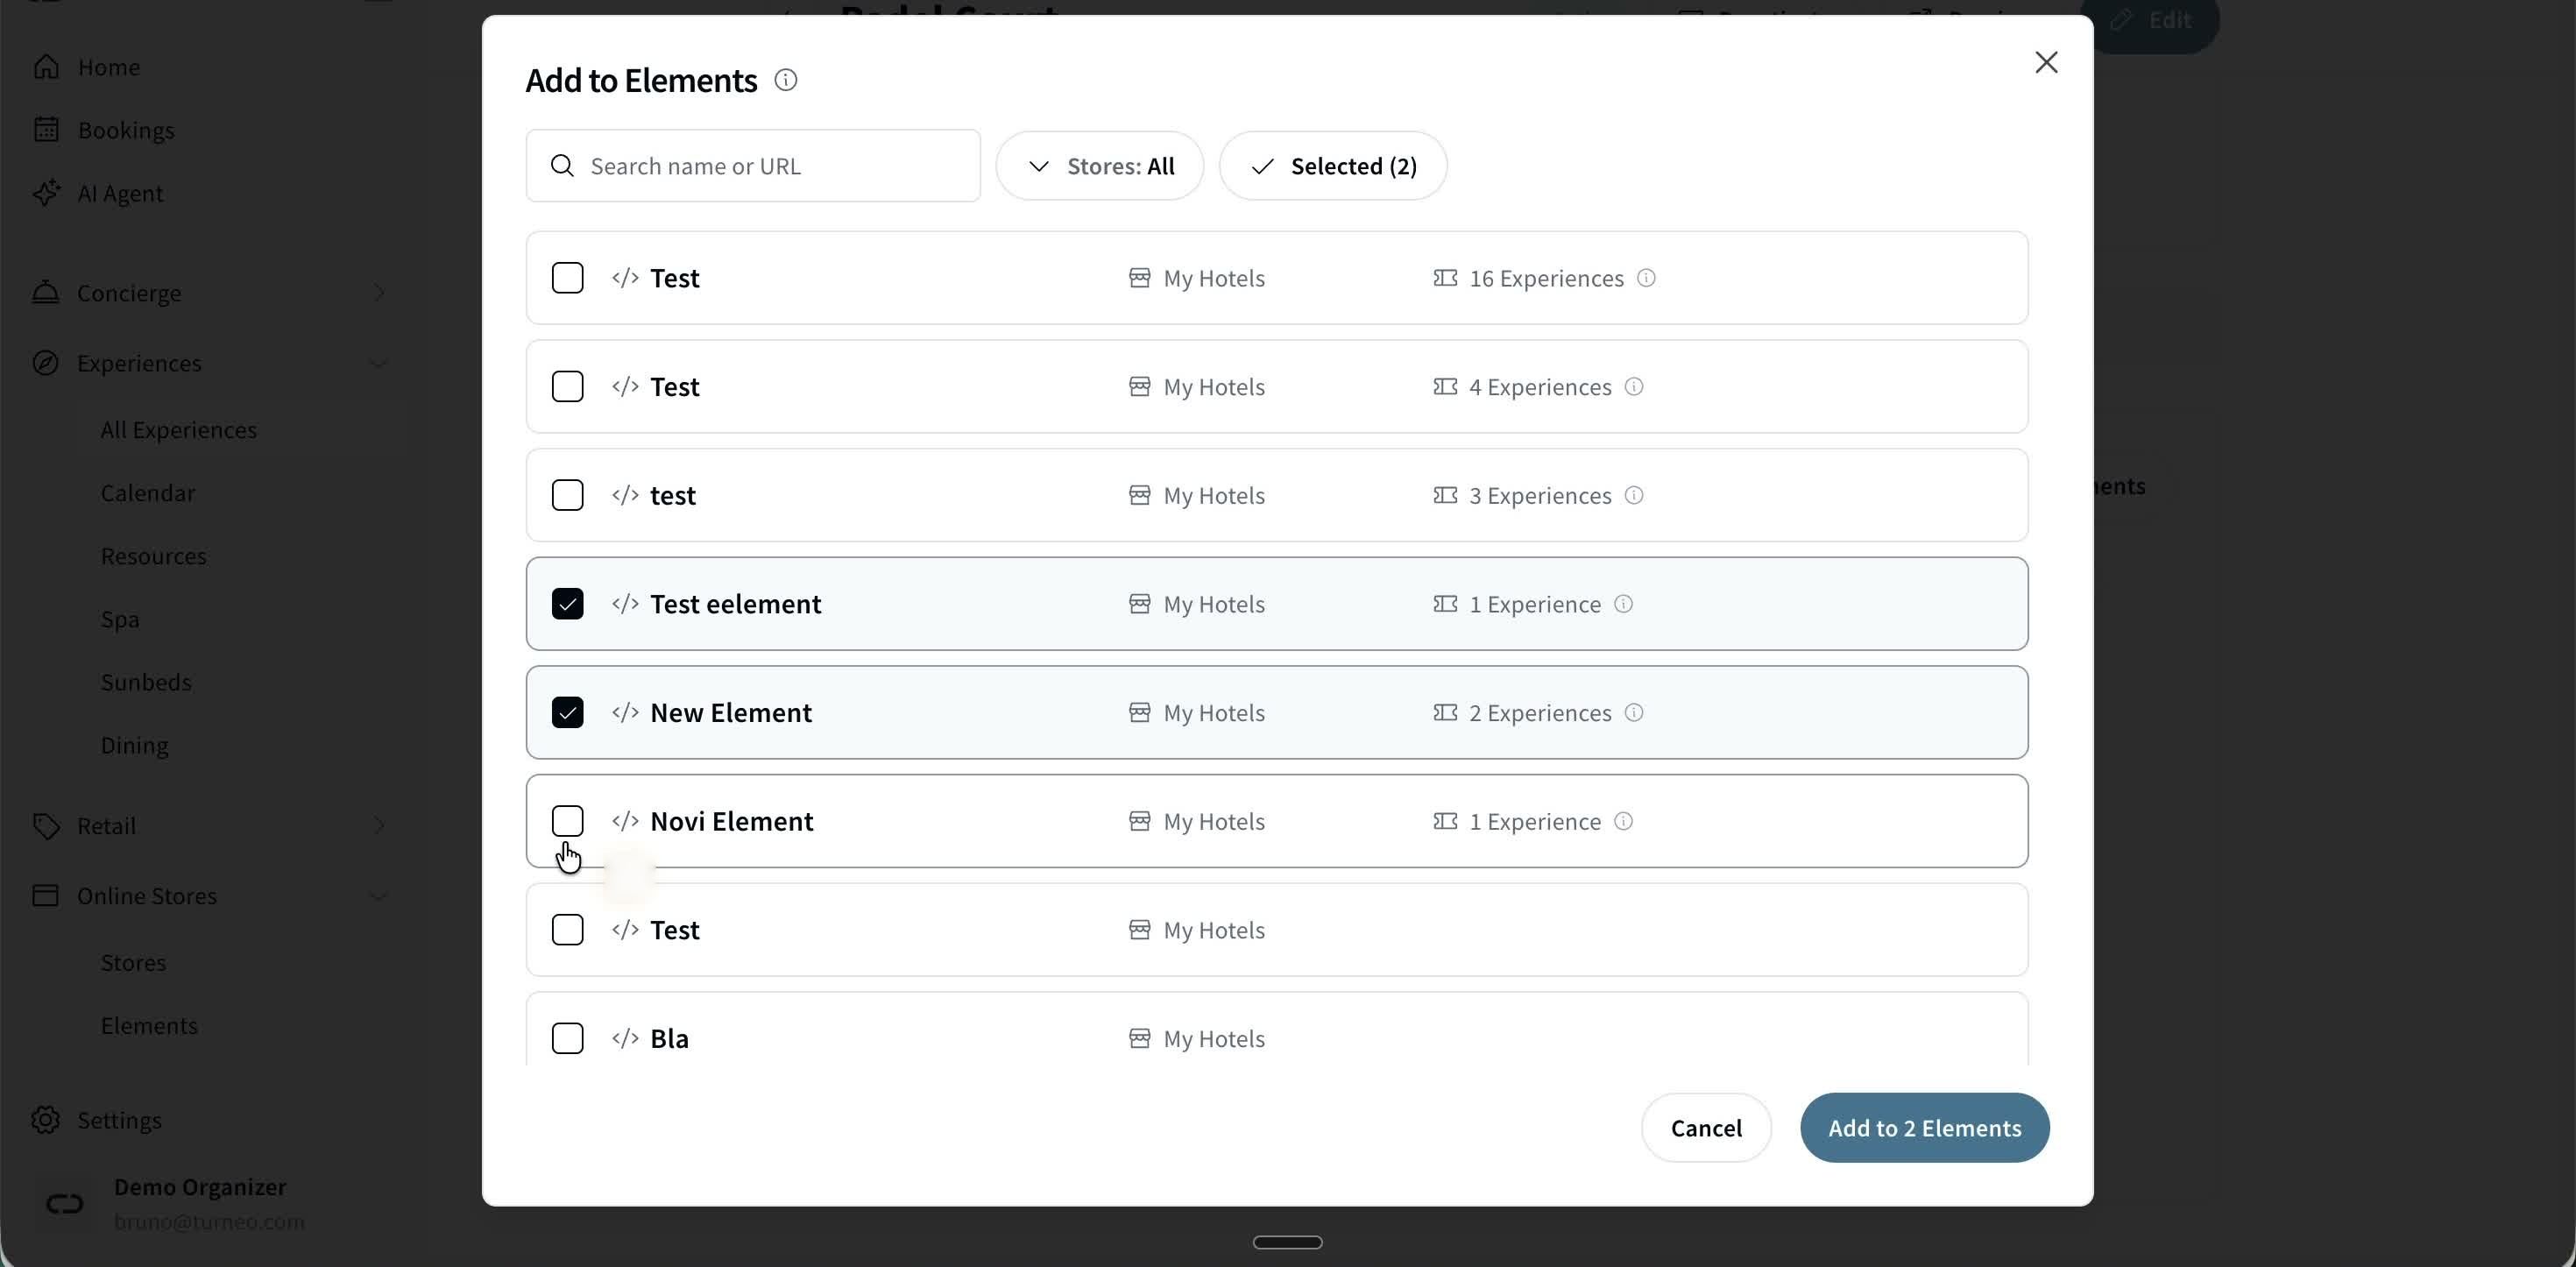
Picking which Element(s) to add the experience to.
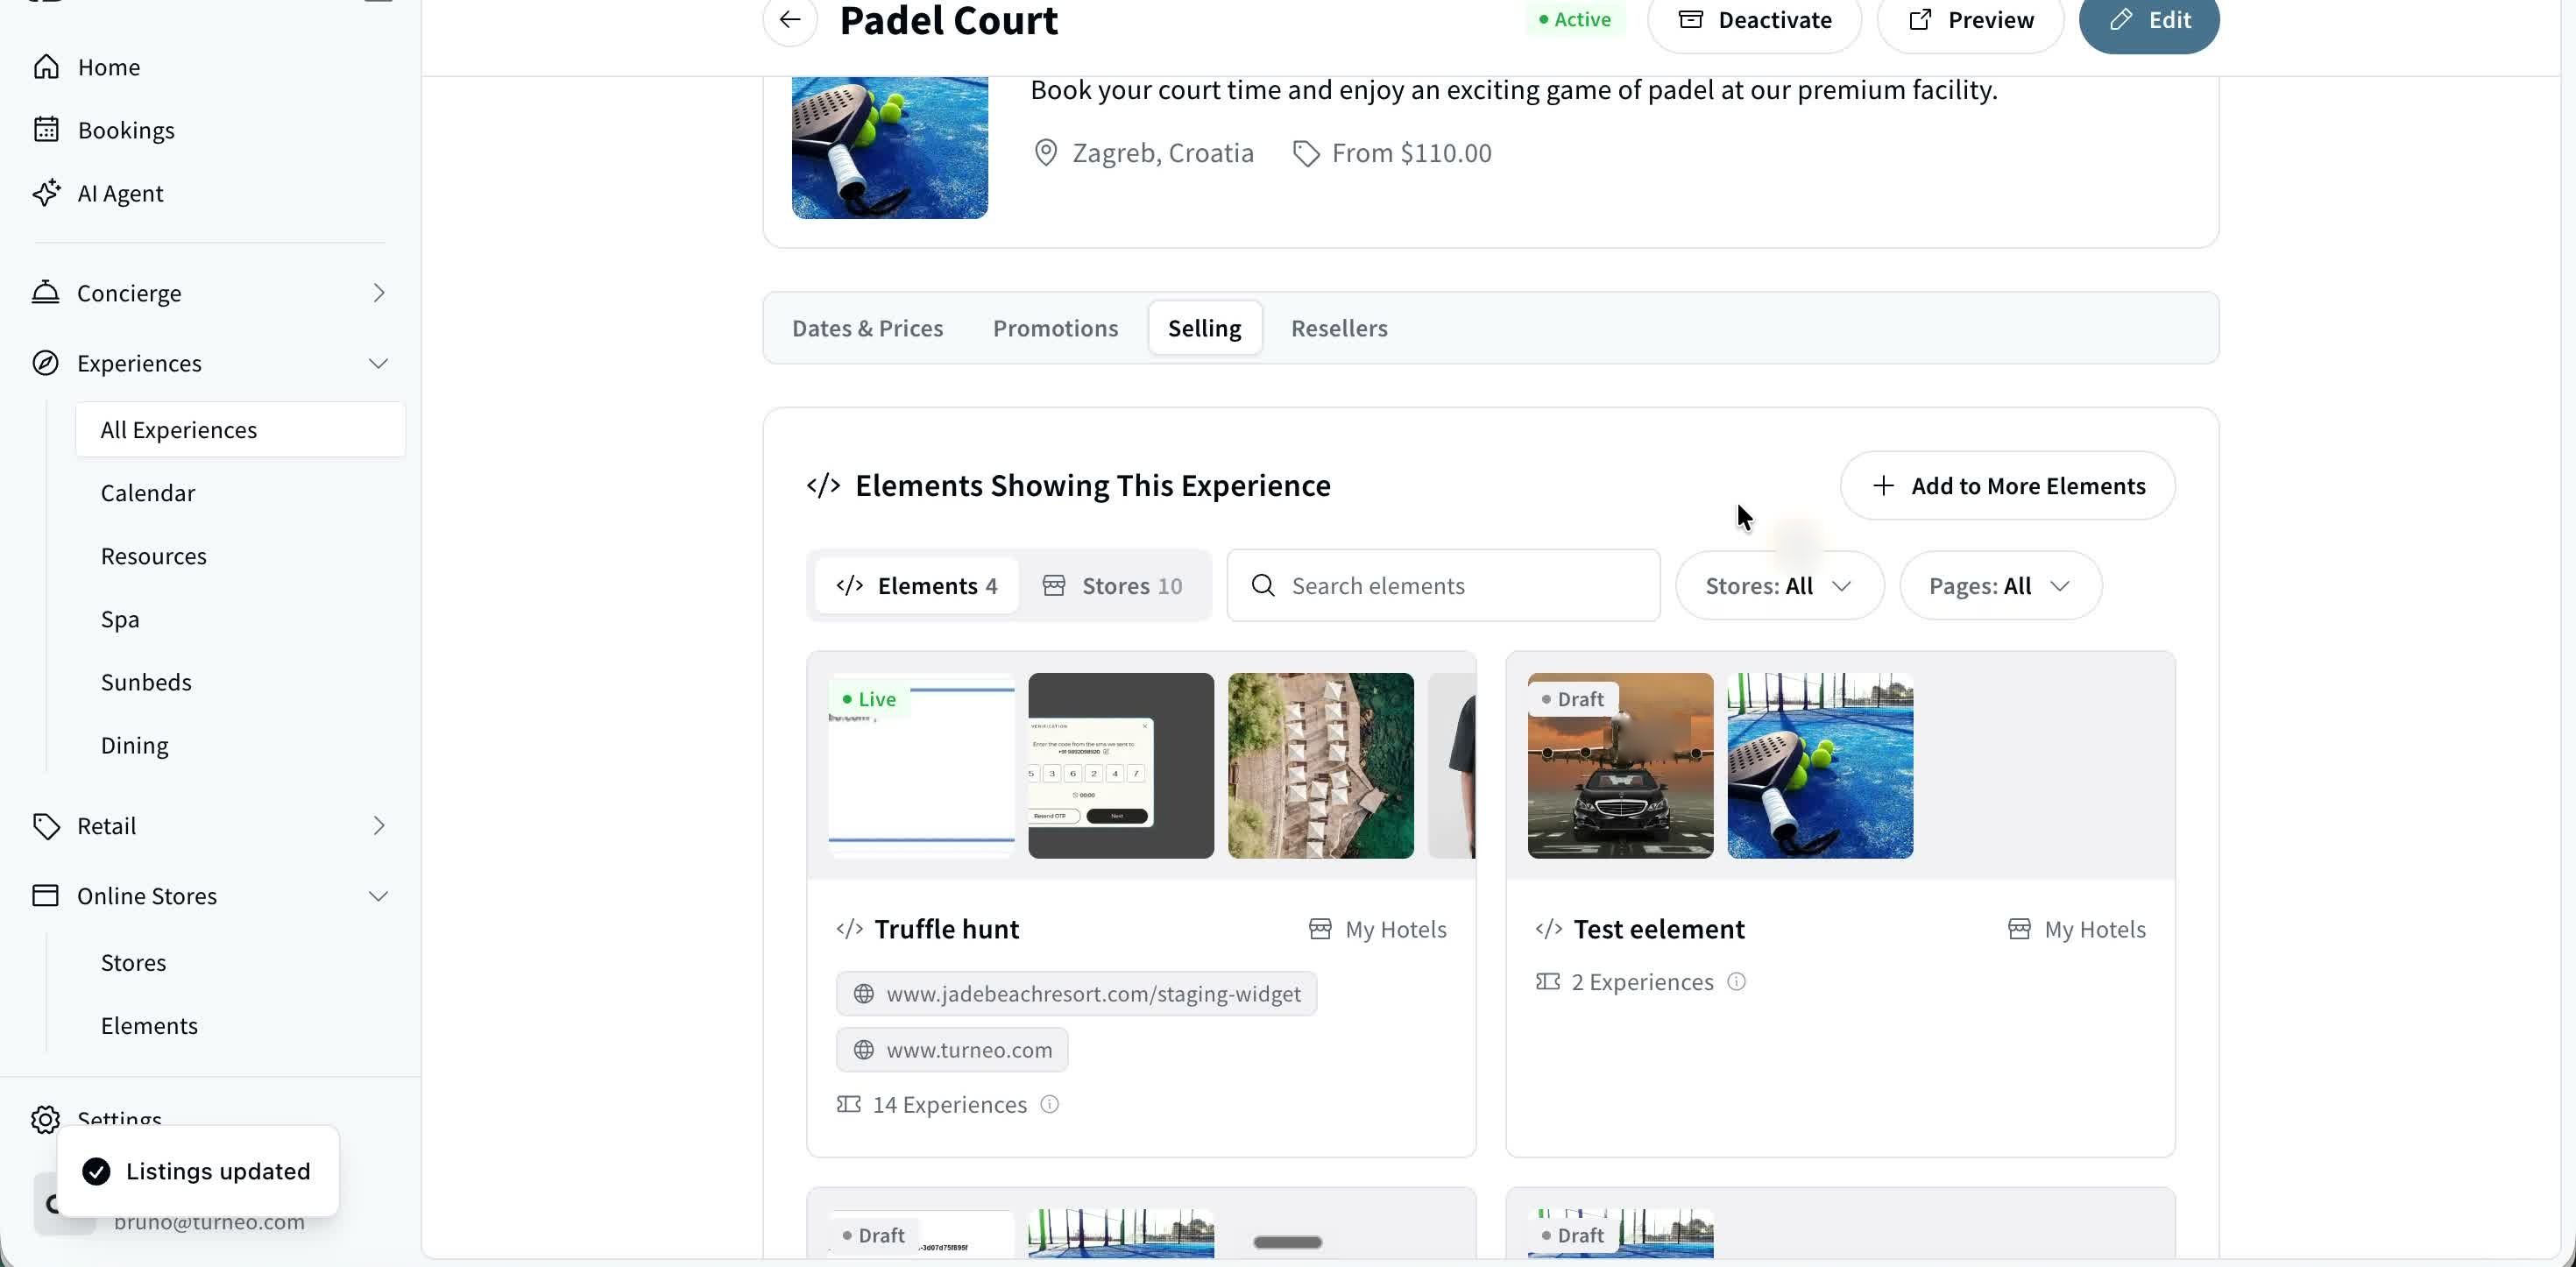
The experience now shows it's included in more Elements.